Getting Started With OnlineCourseHost.com
Introduction:
In this article, we will guide you through the process of getting started with the OnlineCourseHost.com platform. You’ll learn how to:
- Create an account
- Build and set up your course
- Upload lessons
- Integrate with a payment gateway
- Publish your course
- Customize your certificate
Let’s get started and help you launch your online course successfully!
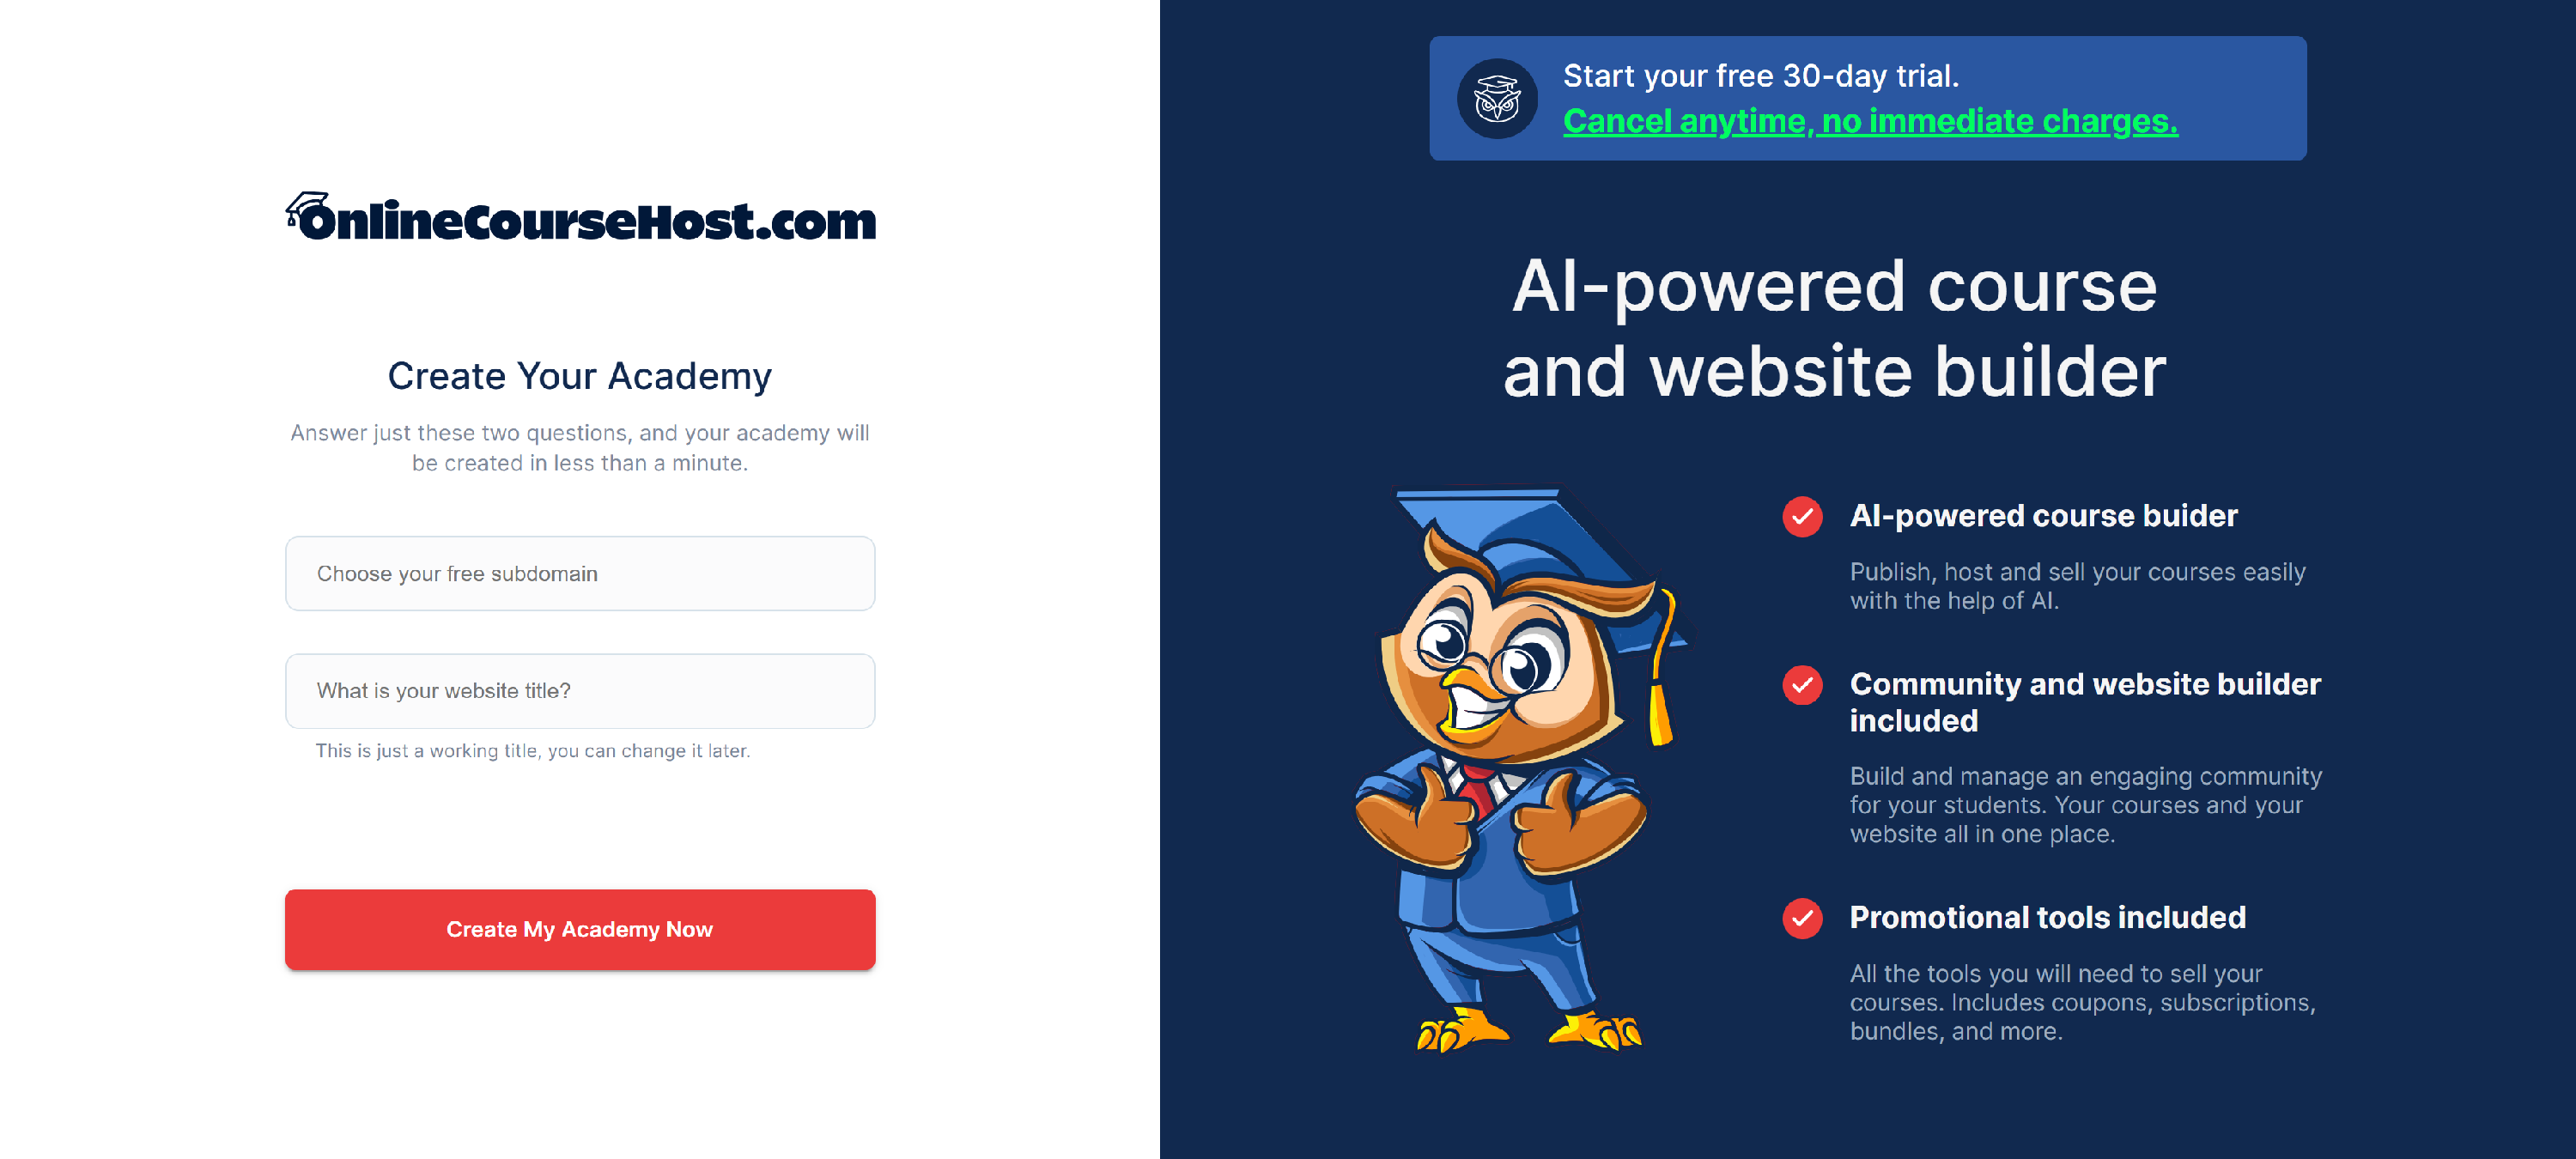
Step 1: Create an Account:
- Sign up for a 30-day free trial: Visit https://app.onlinecoursehost.com/platform-login to create your 30-day free account, and follow the on-screen instructions to complete the registration process.
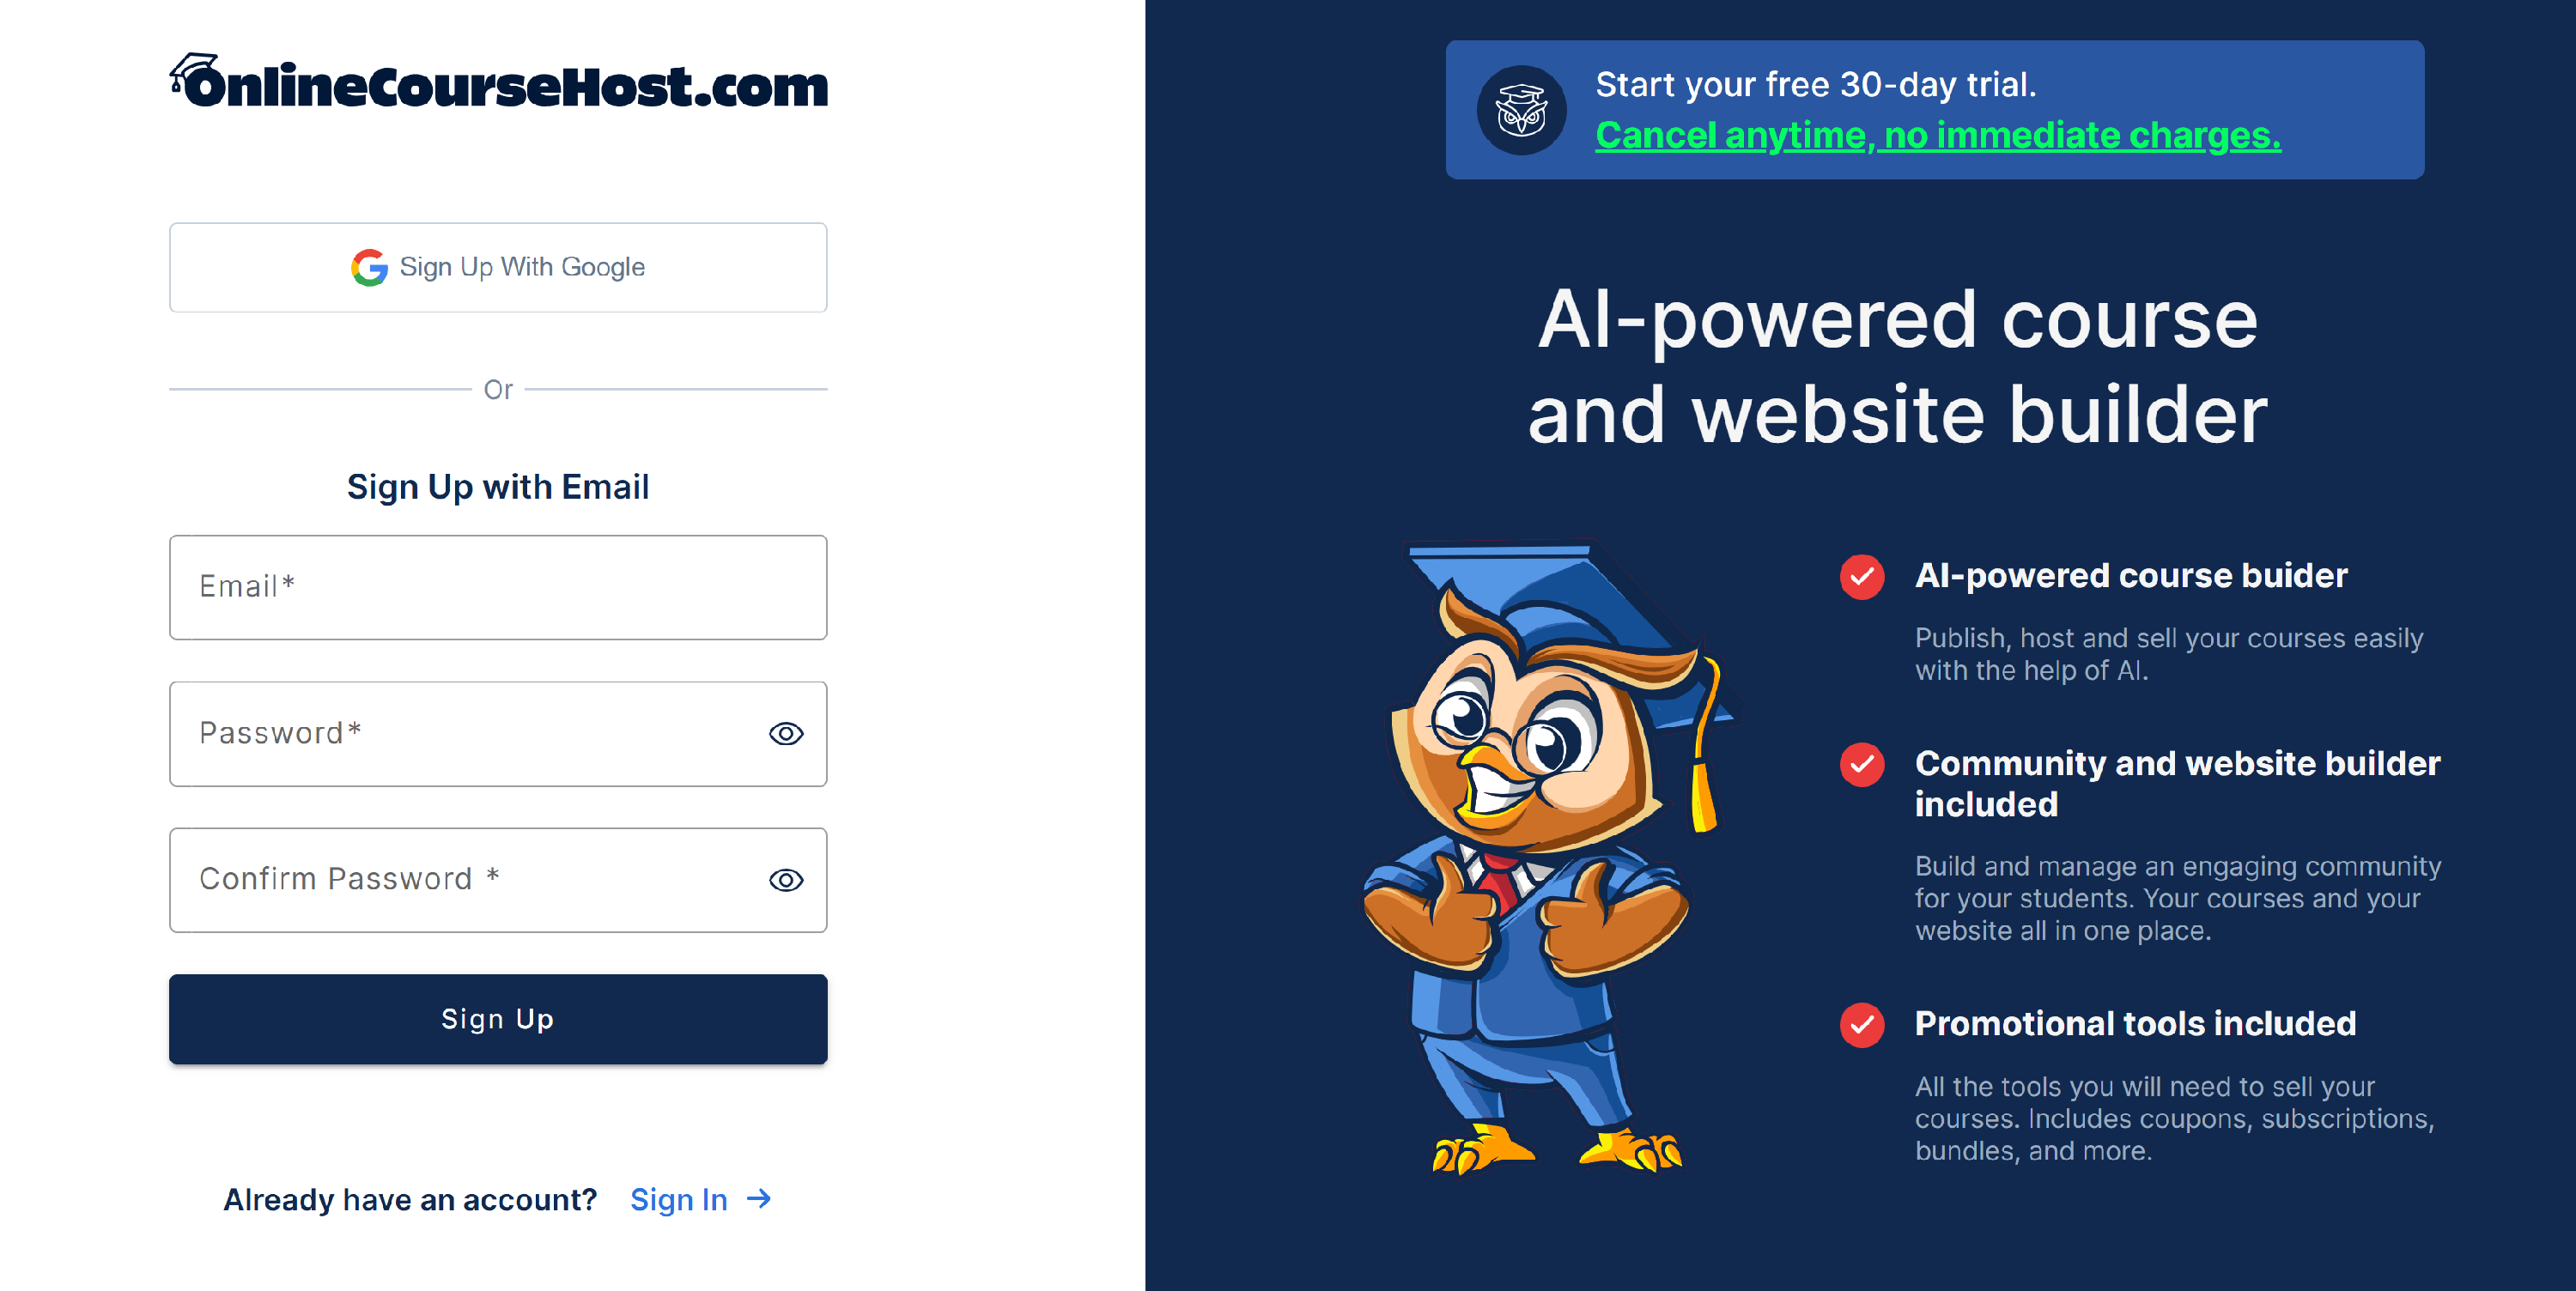
- Create a free, custom URL for your website: This unique link will make it easy for anyone to find and access your course directly. Once set up, your URL will look like this: https://customer-centric.onlinecoursehost.com/courses
Step 2: Create a Course:
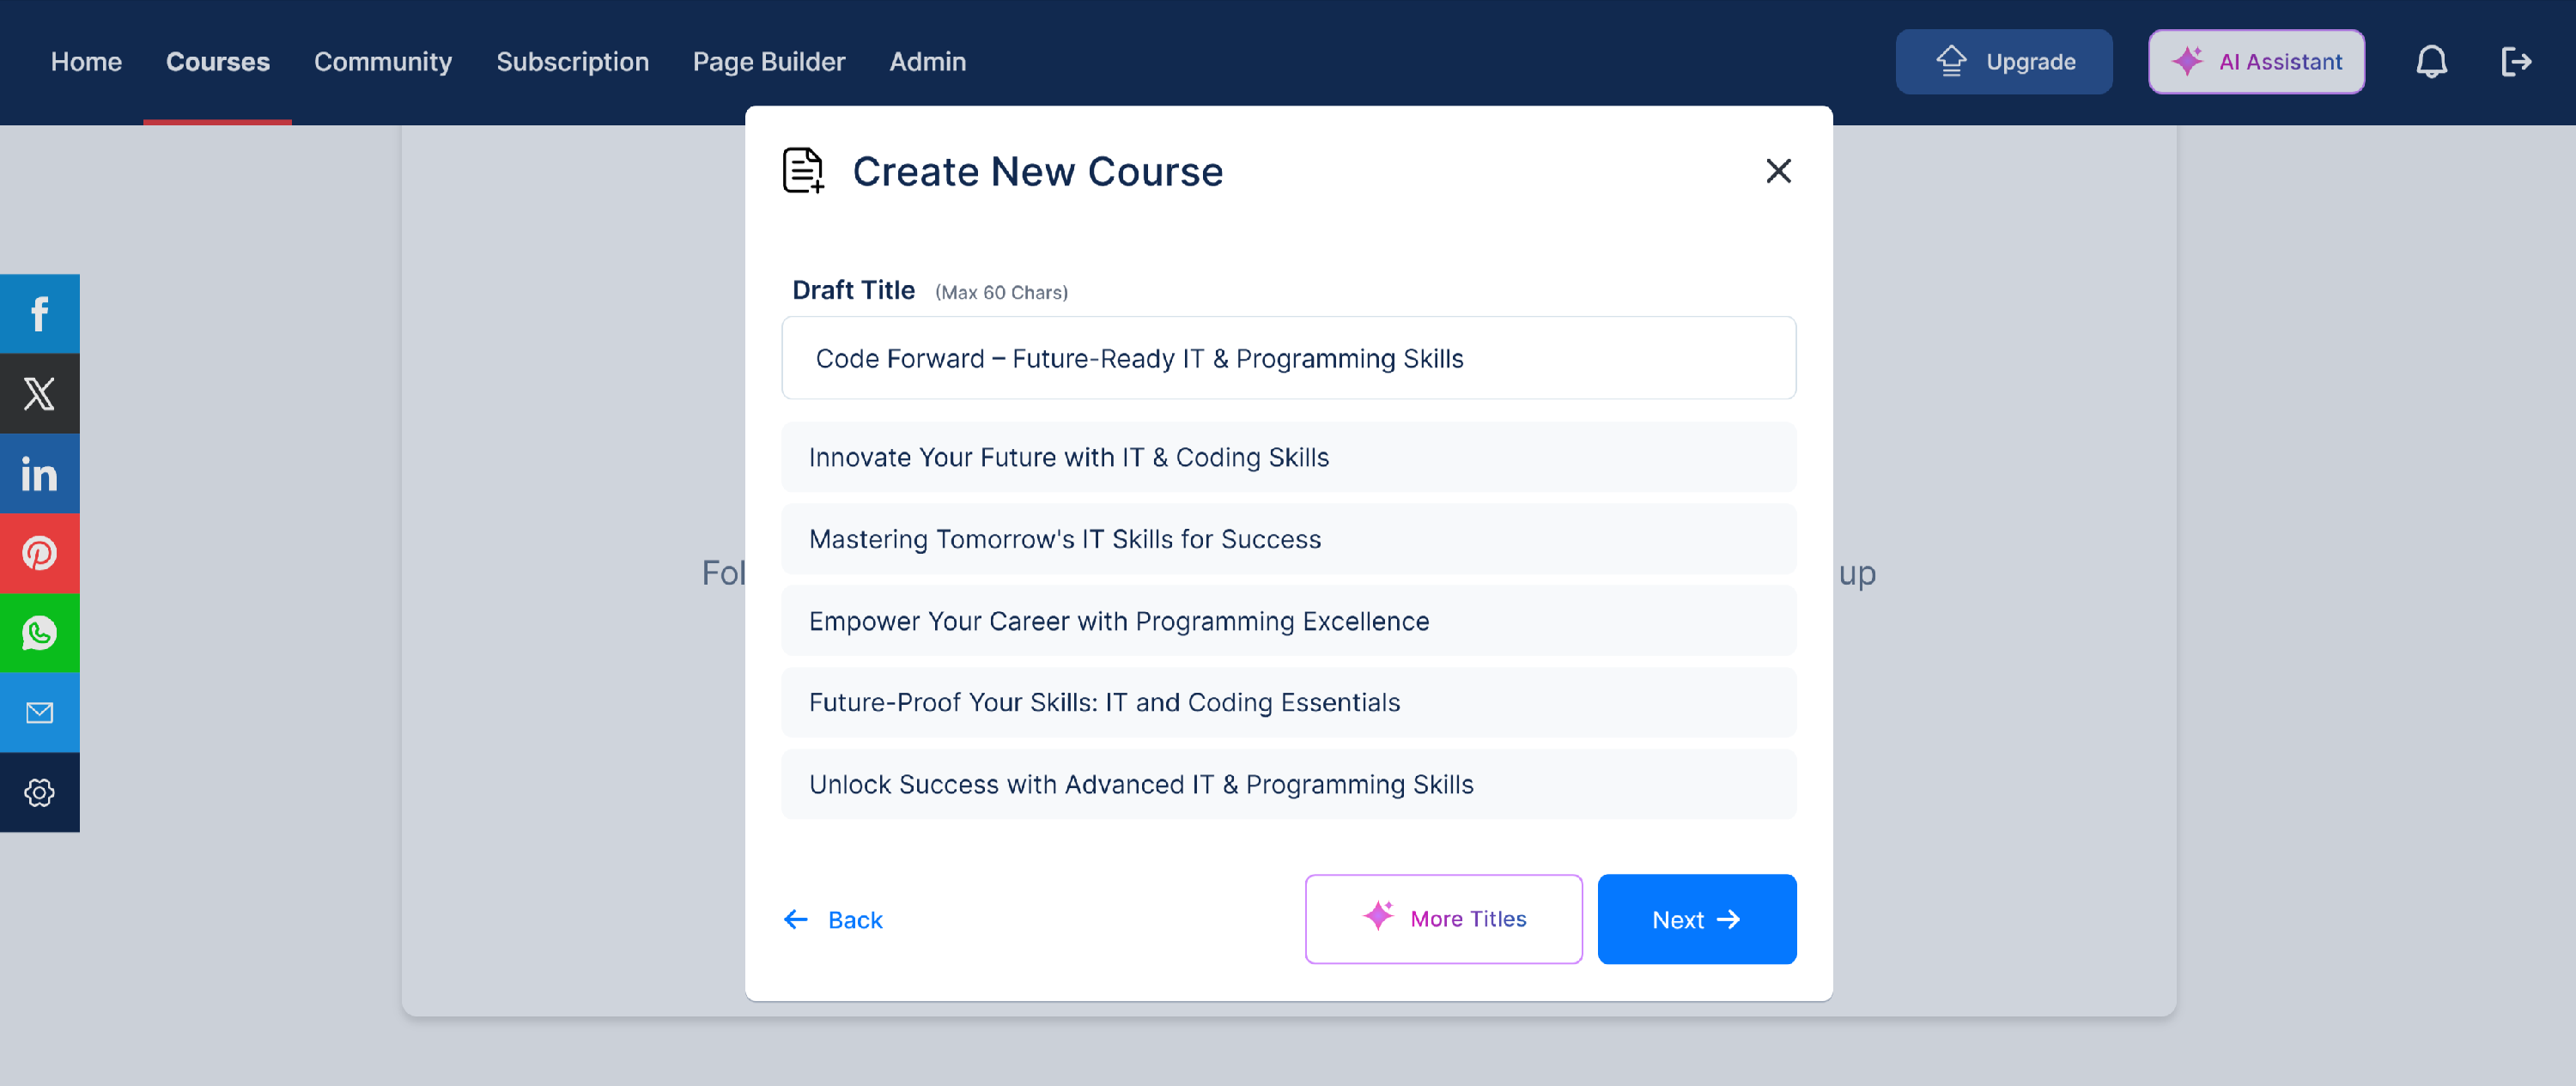
- Choose a course title and write a short description: Every course you publish online must have a title and a brief description. The title helps learners quickly understand what your course is about, while the description provides a snapshot of what they can expect to learn.
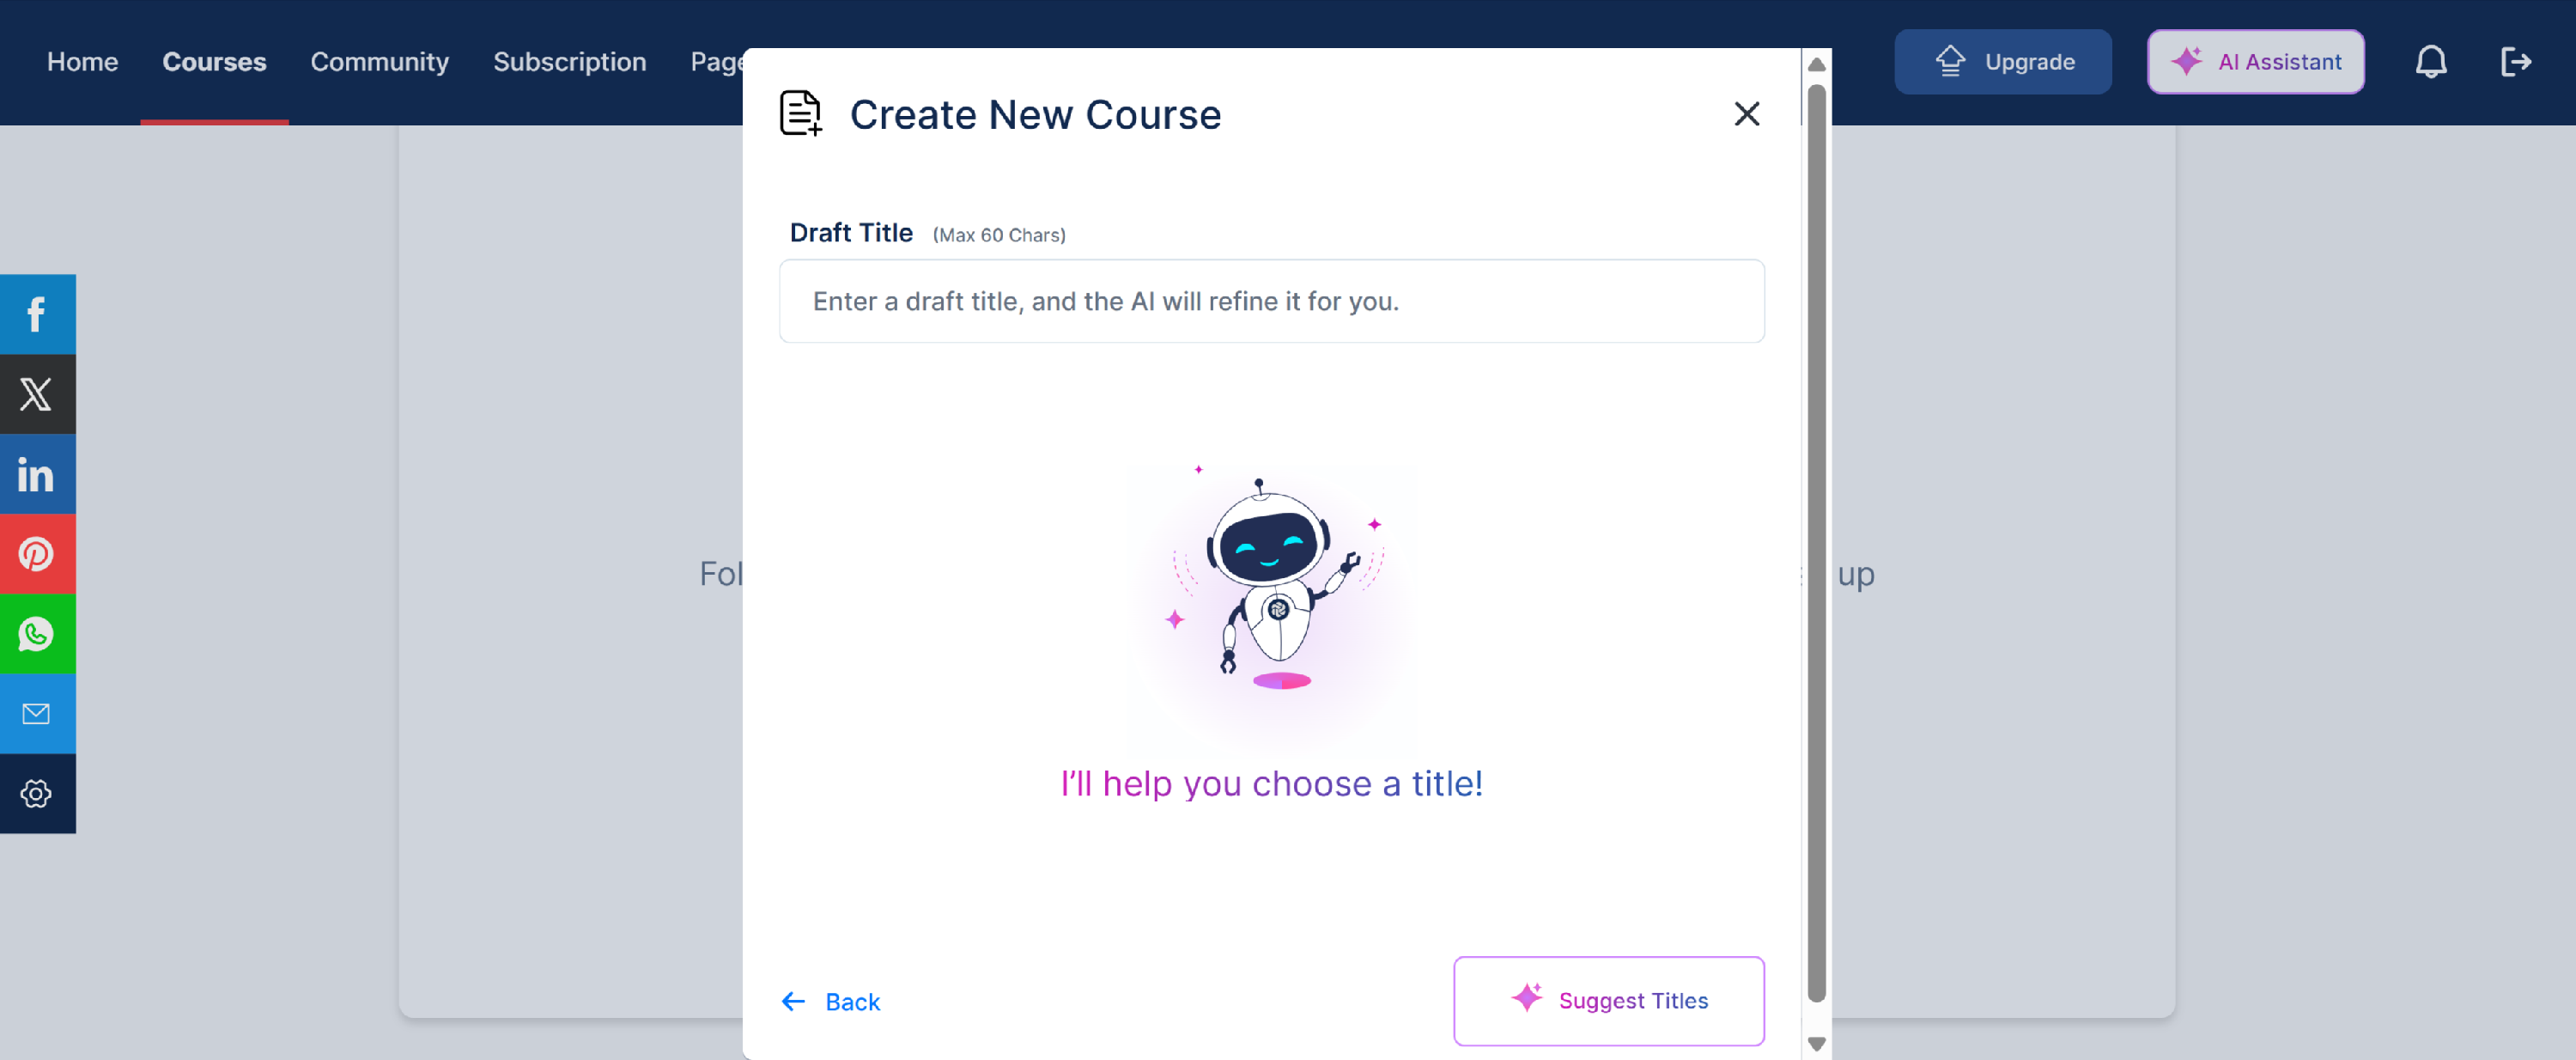
Note: You can also deploy the help of our AI Assistant to suggest you a best title for your course. You just need to add your desired title, and click on Suggest Titles button, AI will refine the title for you.
- Add a catchy phrase to attract your audience: After selecting your course title, create a compelling tagline or catchy phrase that captures attention and speaks directly to your target audience. A strong phrase can spark interest and encourage more people to explore your course.

Note: If you want the AI to generate the catchy description, provide a prompt and click on the Improve button, the AI will generate the description for you.
- Organize your course into sections: Break your course into clear, manageable sections to make learning easier and more structured for your students. Well-organized content helps learners stay engaged and navigate through the material with ease.
- Add content to each section: Select each section you've created and upload your content. You can choose the primary mode of instruction, such as video, audio, text, or a combination. For this tutorial, we will be using the Audio-Only lesson format.
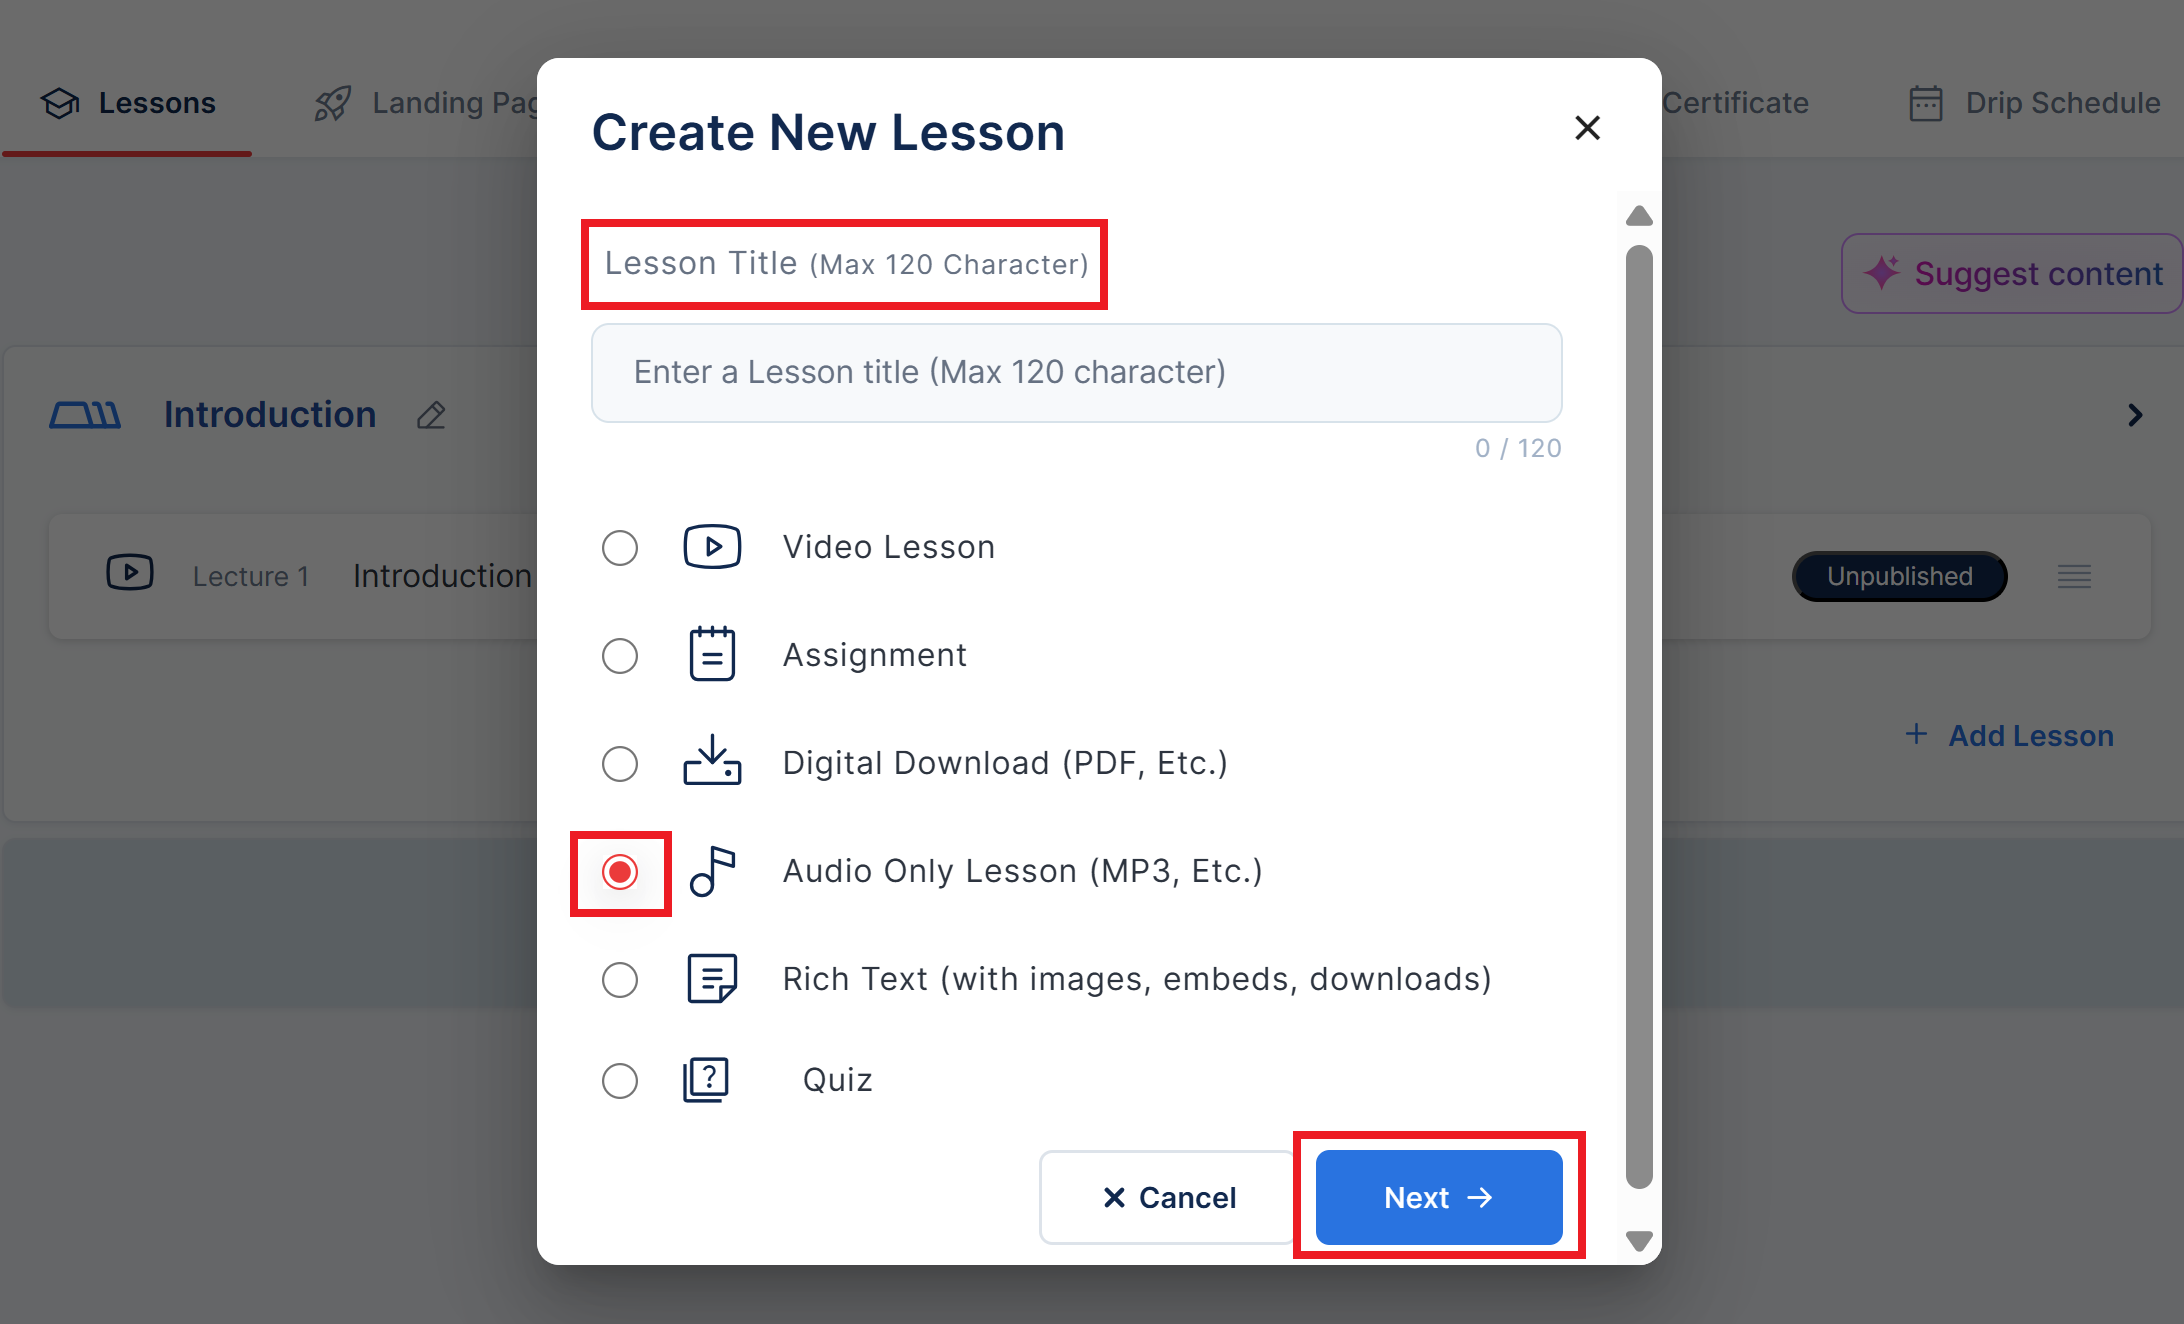
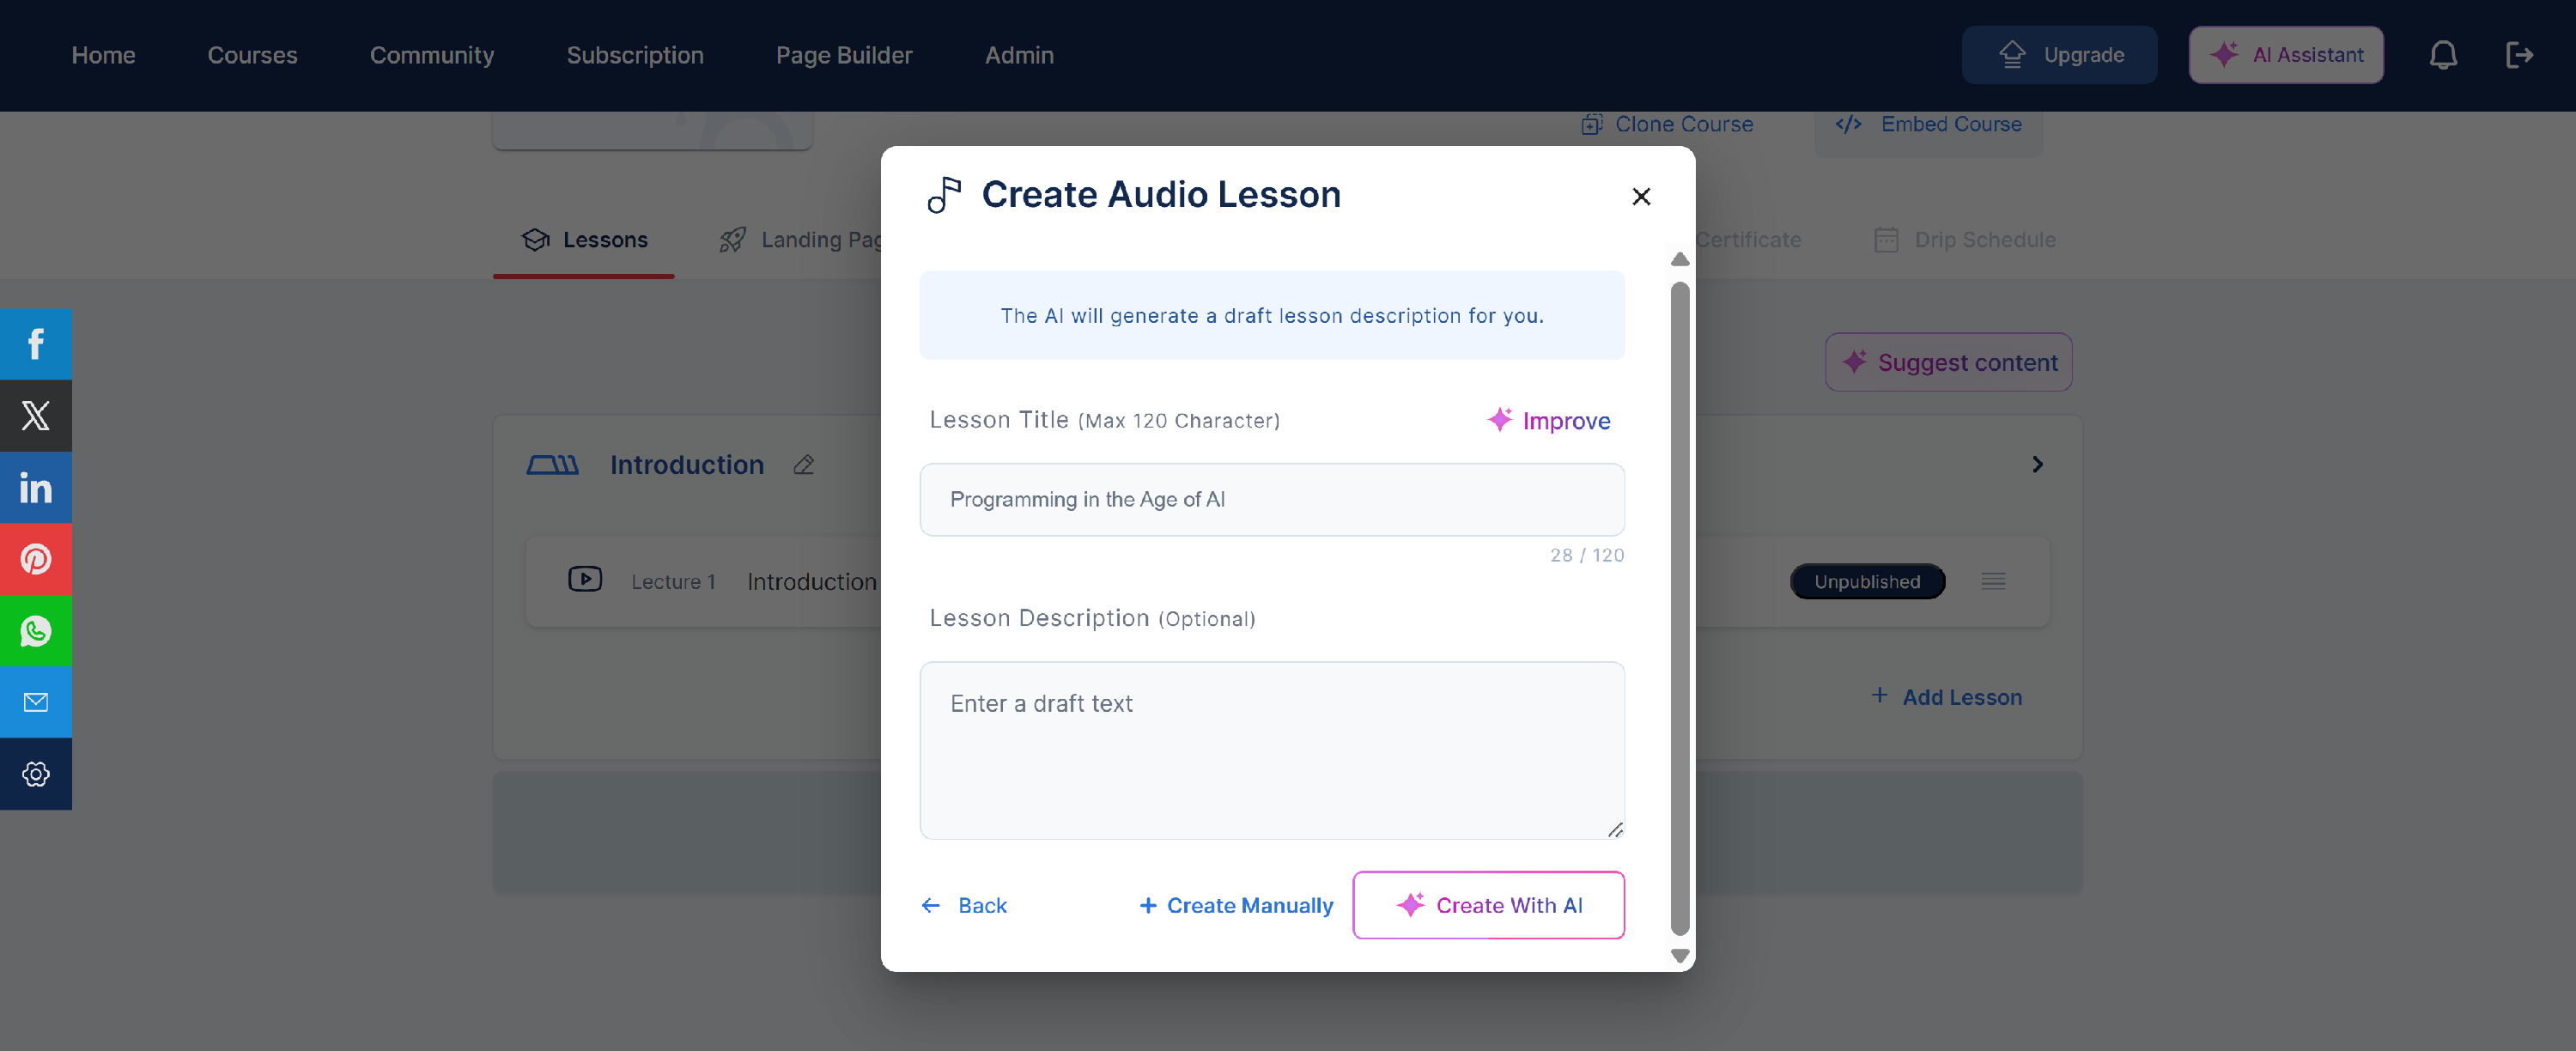
- Add a lesson title and description: In this step, provide a clear Lesson Title and a brief Lesson Description. The title should quickly inform students about the topic, while the description should offer a short overview of what they will learn in the lesson.
Note: If you want the AI to generate the catchy description, click on the Generate with AI button at the bottom, and the AI will generate the description for you.
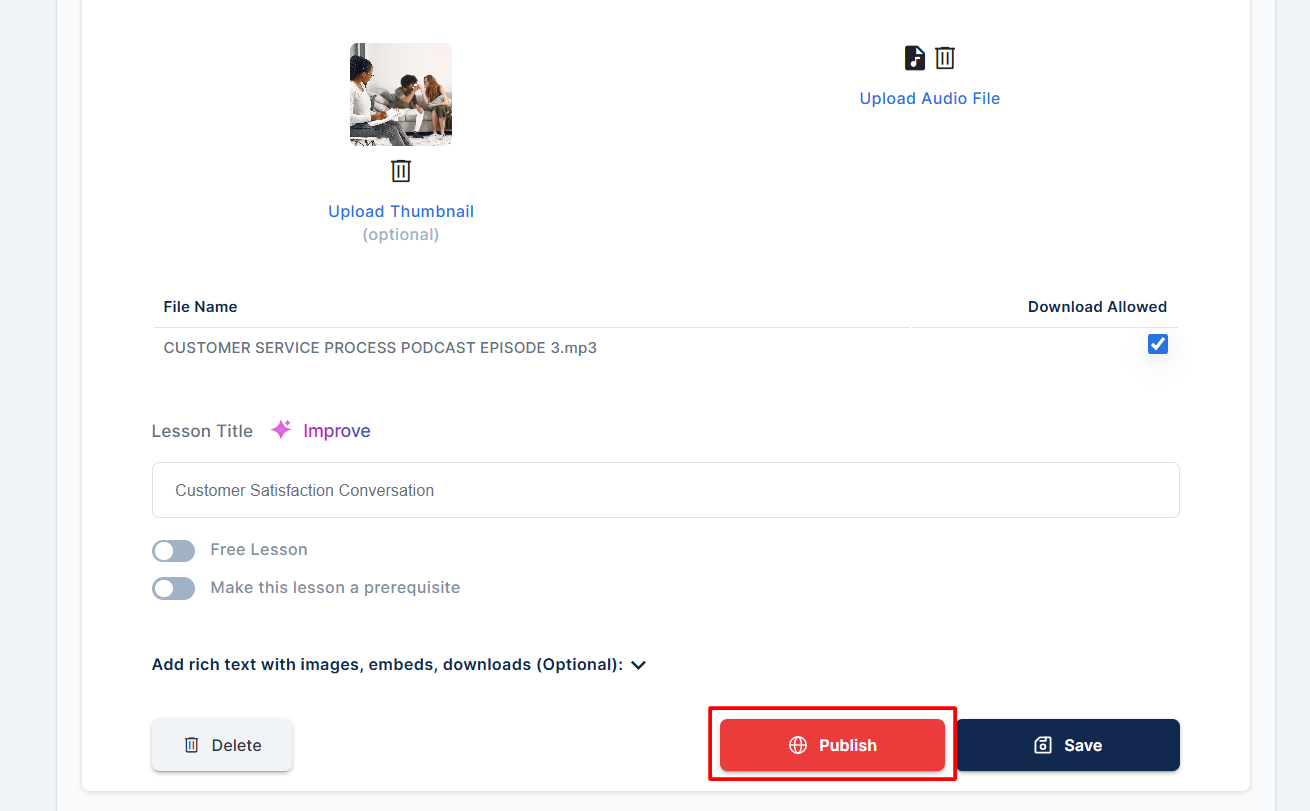
- Upload your audio file and add a thumbnail: Upload your audio file for the lesson, then add a thumbnail to make it visually appealing. Once done, click Save to save your lesson.

Note: You can also use AI to suggest content for your course, or simply click on the Add Lesson button to add your lesson.
Step 3: Select a Landing Page for your Course
Here, you have complete freedom to add as many features to your course as you'd like. You can add a course image, lesson icon, review and refine your course title, add the course author, provide a course description, highlight key features, and include FAQs for your students.
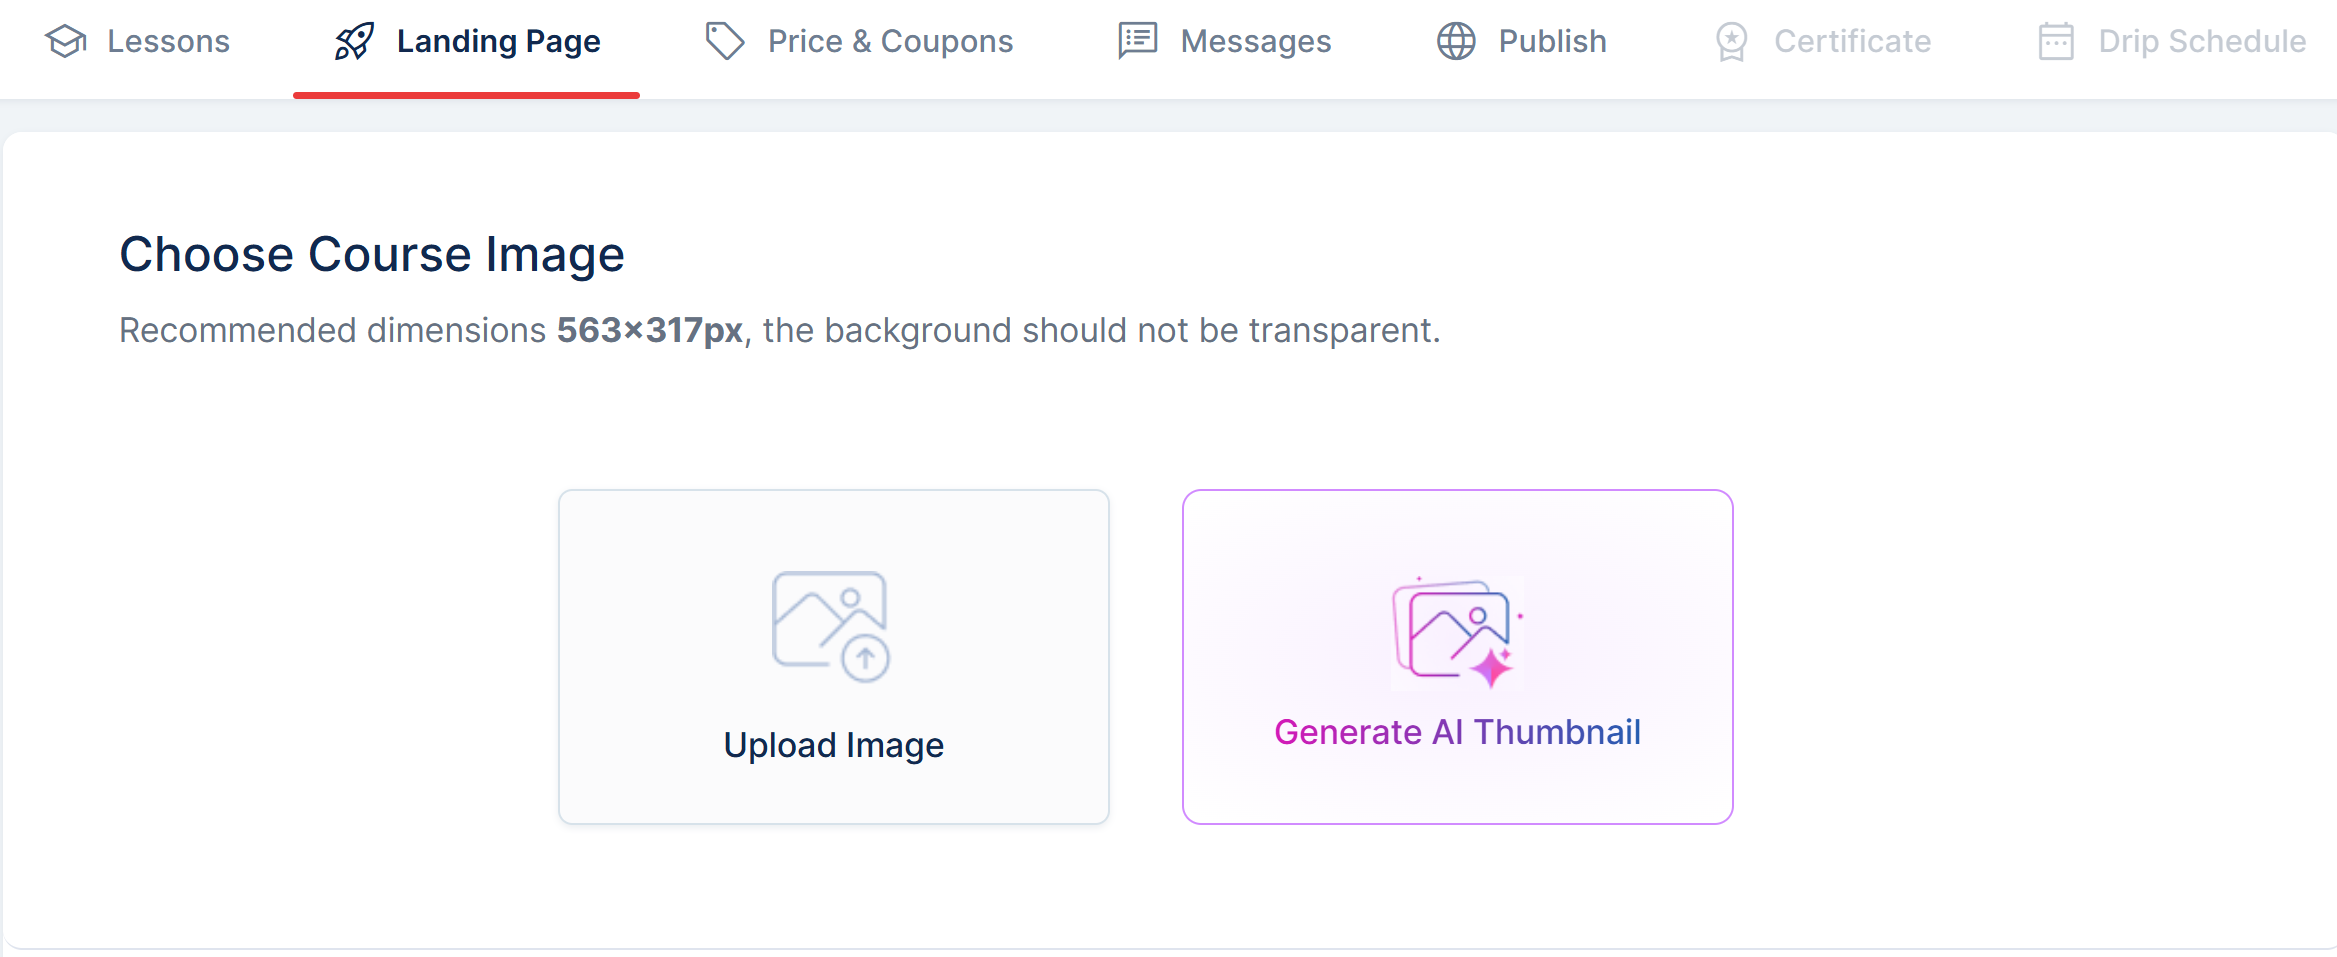
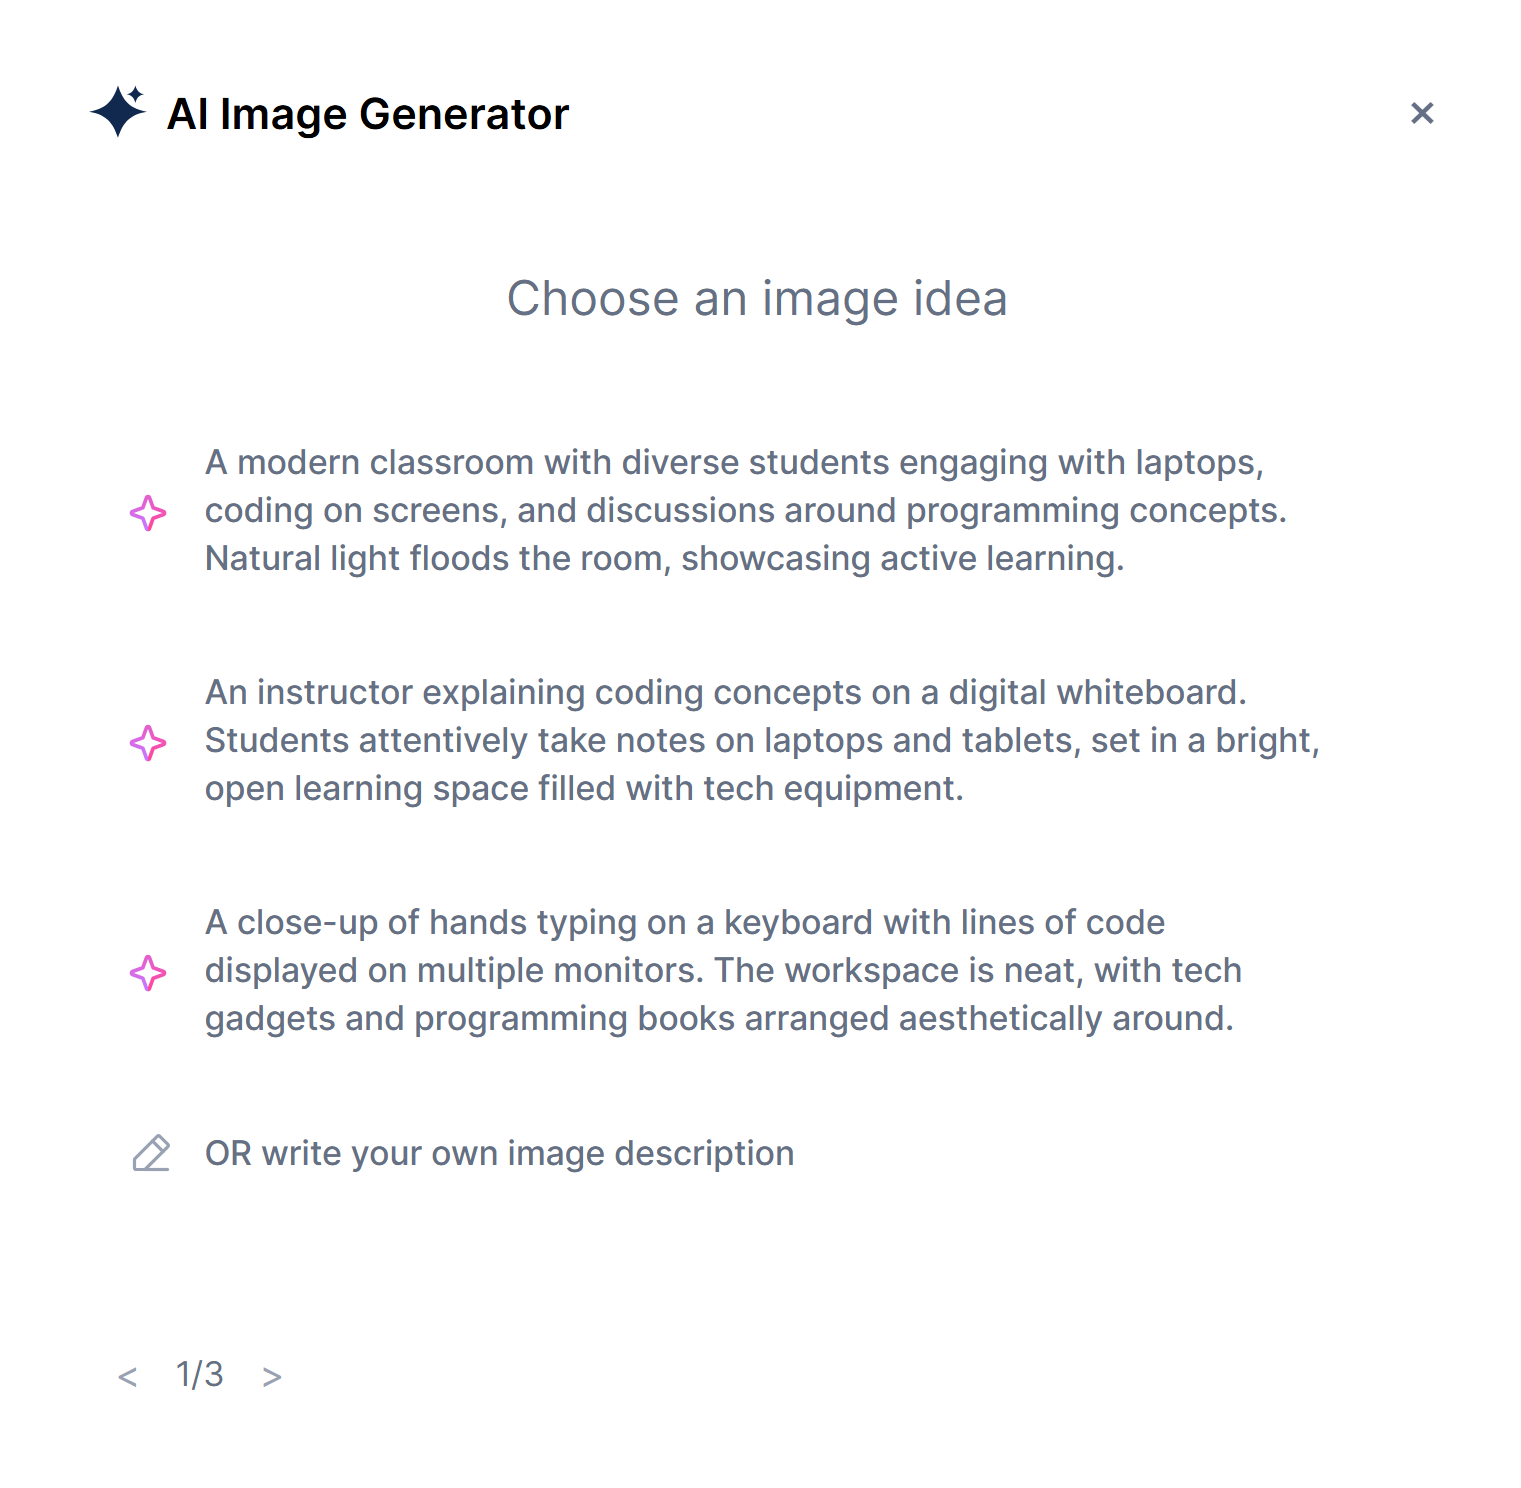
Note: If you want the AI to create an attractive image for your course, simply click the "Generate AI Thumbnail" button as shown in the above image. This will allow you to either choose from the available prompts or enter your custom prompt. The AI will then generate a suitable image to visually enhance your course.
Step 4: Activate your Payment Gateways
- Here, you can activate your preferred payment gateways (Stripe or PayPal or none). For detailed steps on setting up payment gateways, please refer to these links: Activate Stripe - Integrate PayPal - External Payment Gateway.
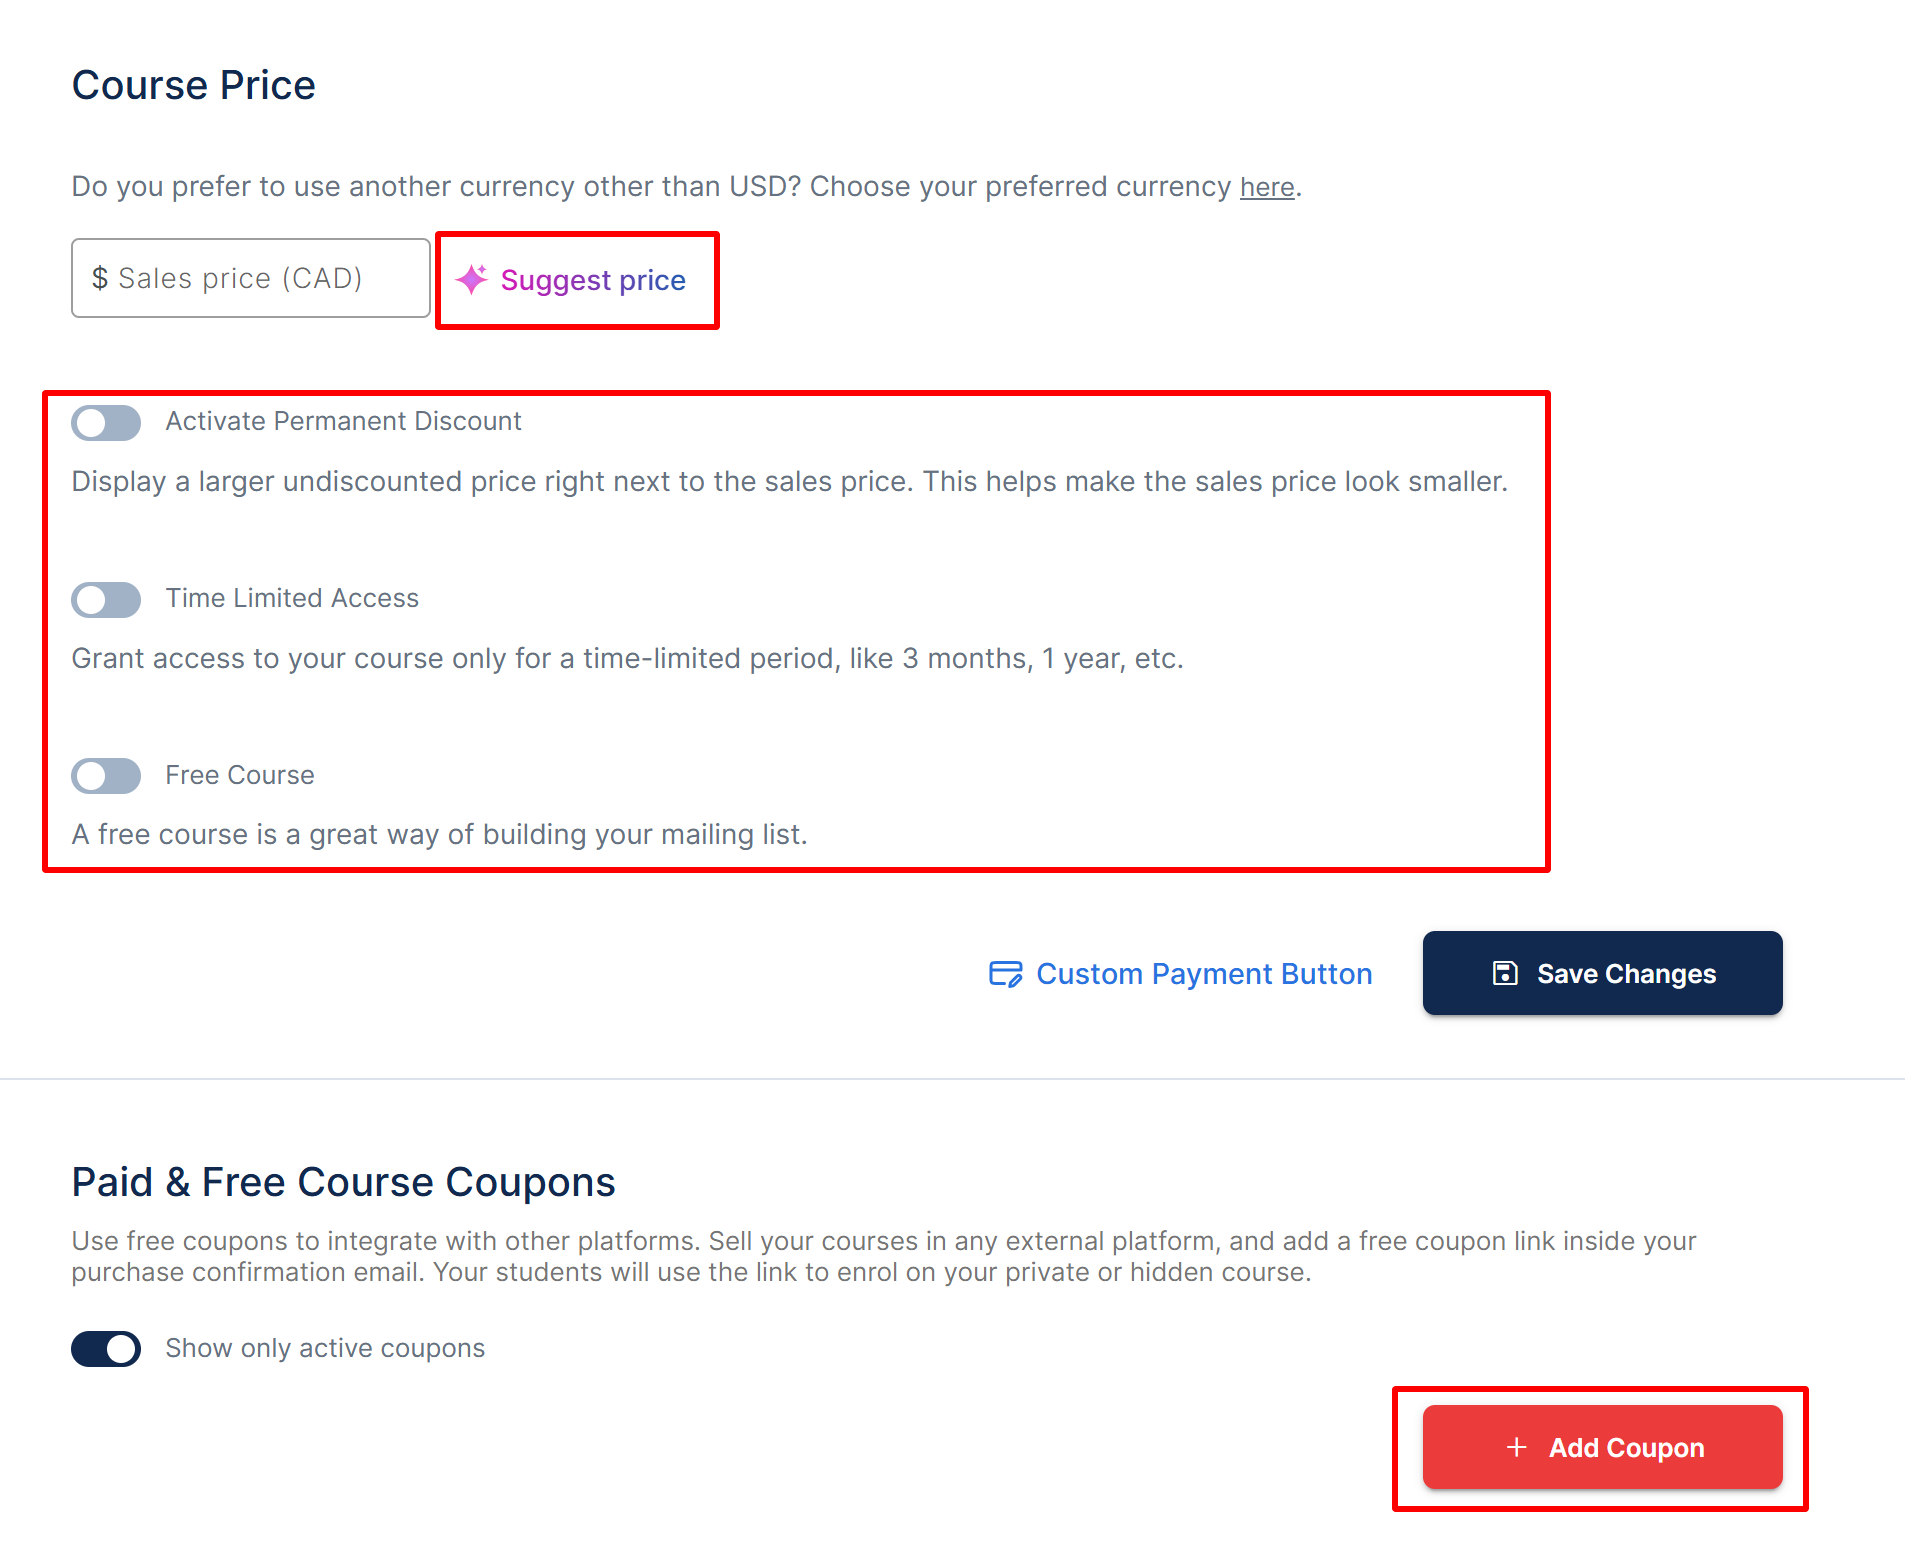
- You can configure your course pricing or use AI to help set a market-competitive pricing
- You can also configure additional course settings, such as enabling a permanent discount, restricting access to a limited time, or offering the course for free. Simply enable the desired options based on your needs and click the "Save Changes" button to apply them.
- You can also add coupons to your courses, allowing you to offer either free or discounted access. To configure a coupon, simply click the red "Add Coupon" button and follow the prompts.
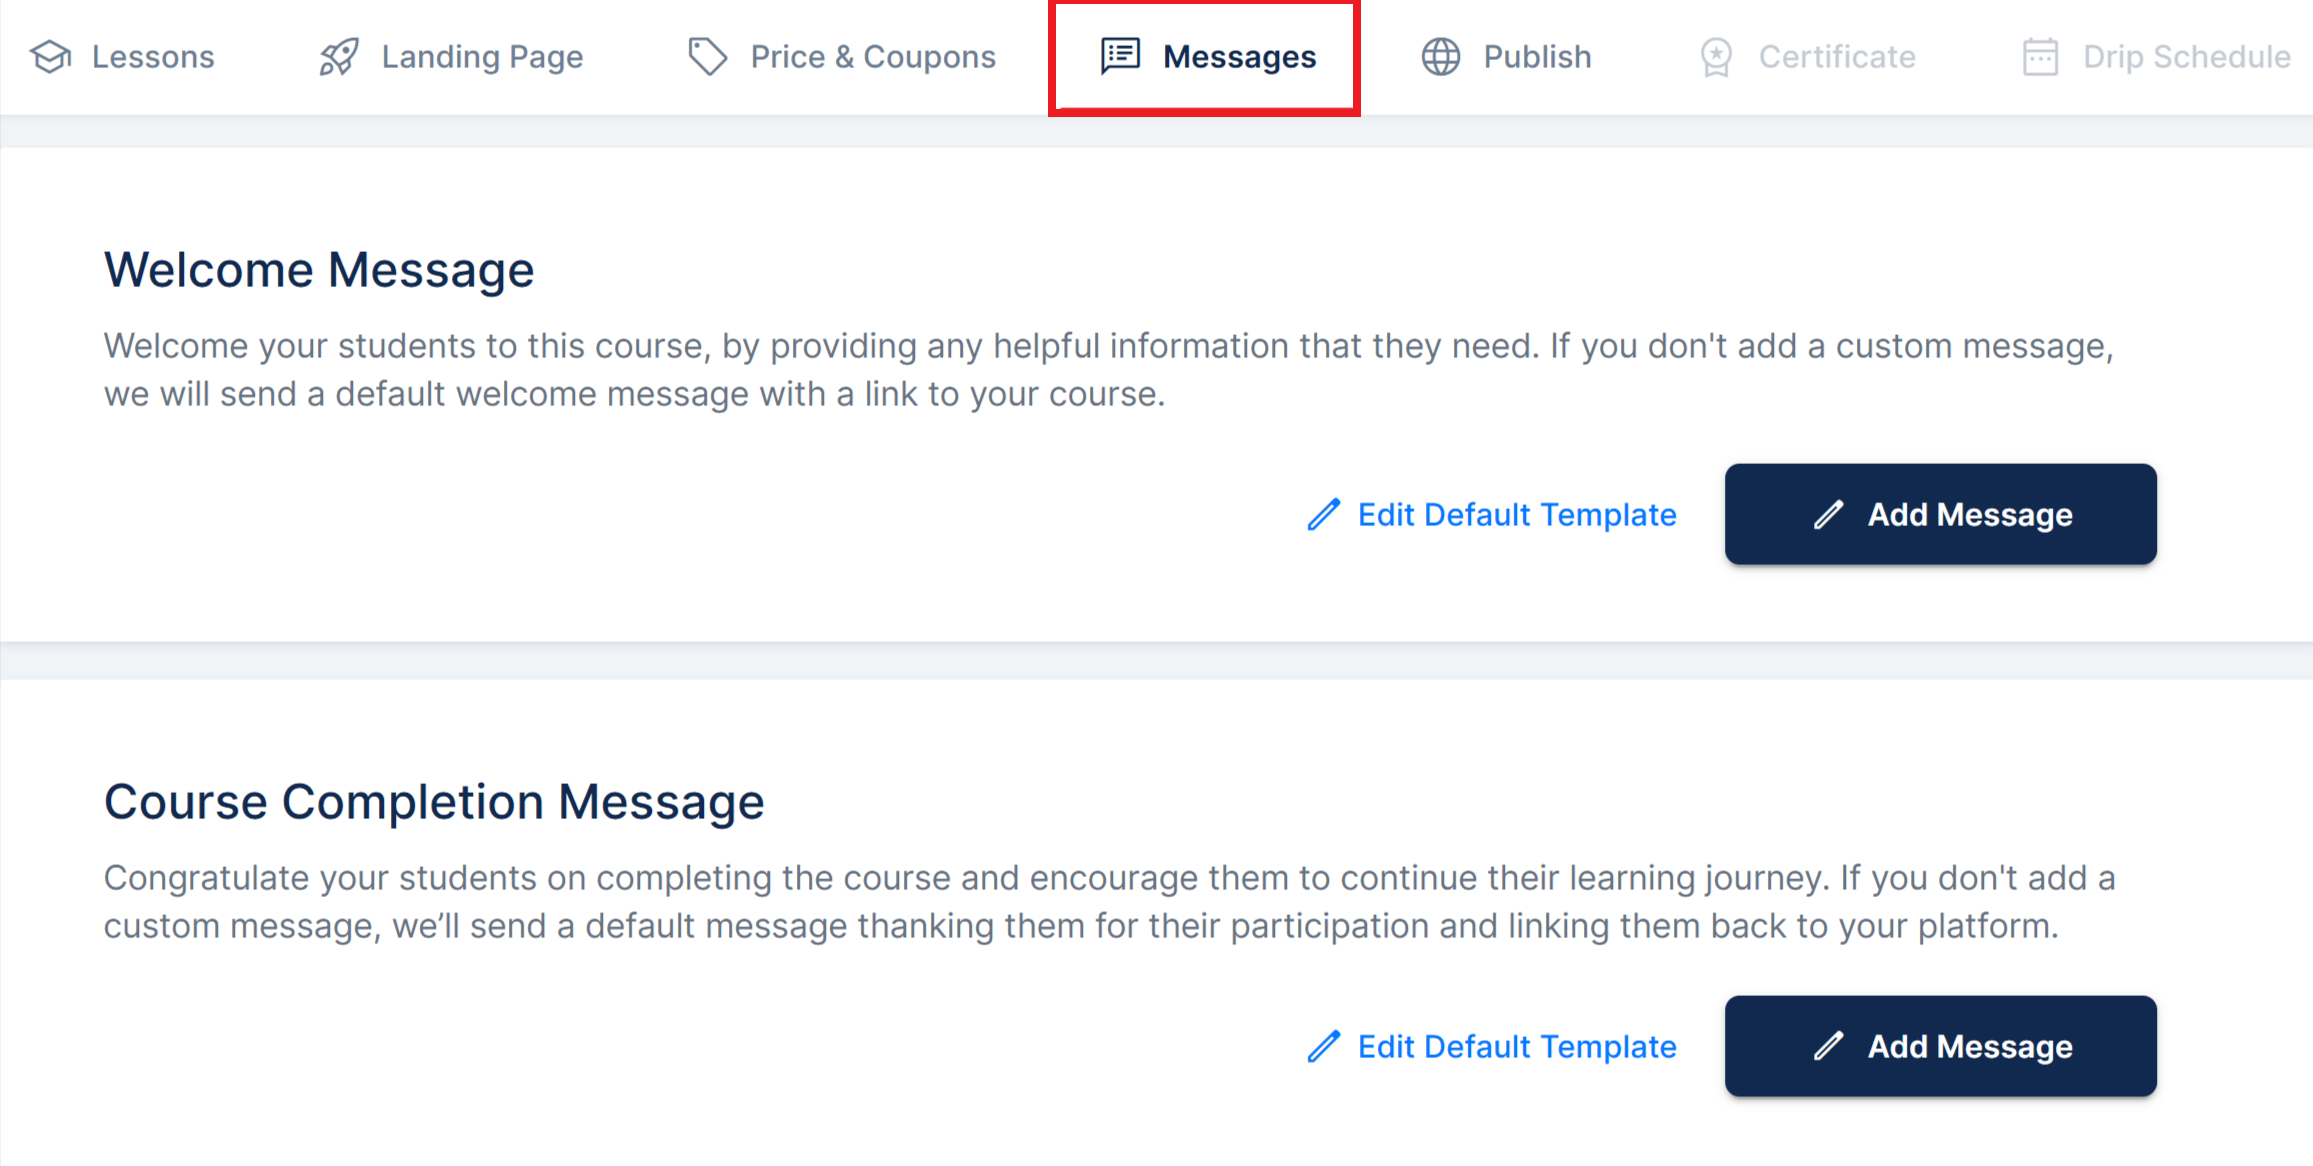
Step 5: Configure Default Messages
- By utilizing these features, you can engage more personally with your students and provide them with a clear understanding of what to expect from the course. The Welcome Message can be edited to customize the pre-written message for your students. You can modify the existing message or create a new one by clicking the "Add Message" option.
- Similarly, the Course Completion Message is configurable and is sent to congratulate your students upon completing the course or to provide guidance on their next steps. This approach helps personalize communication and enhances the overall learning experience. You can modify the existing message or create a new one by clicking the "Add Message" option.
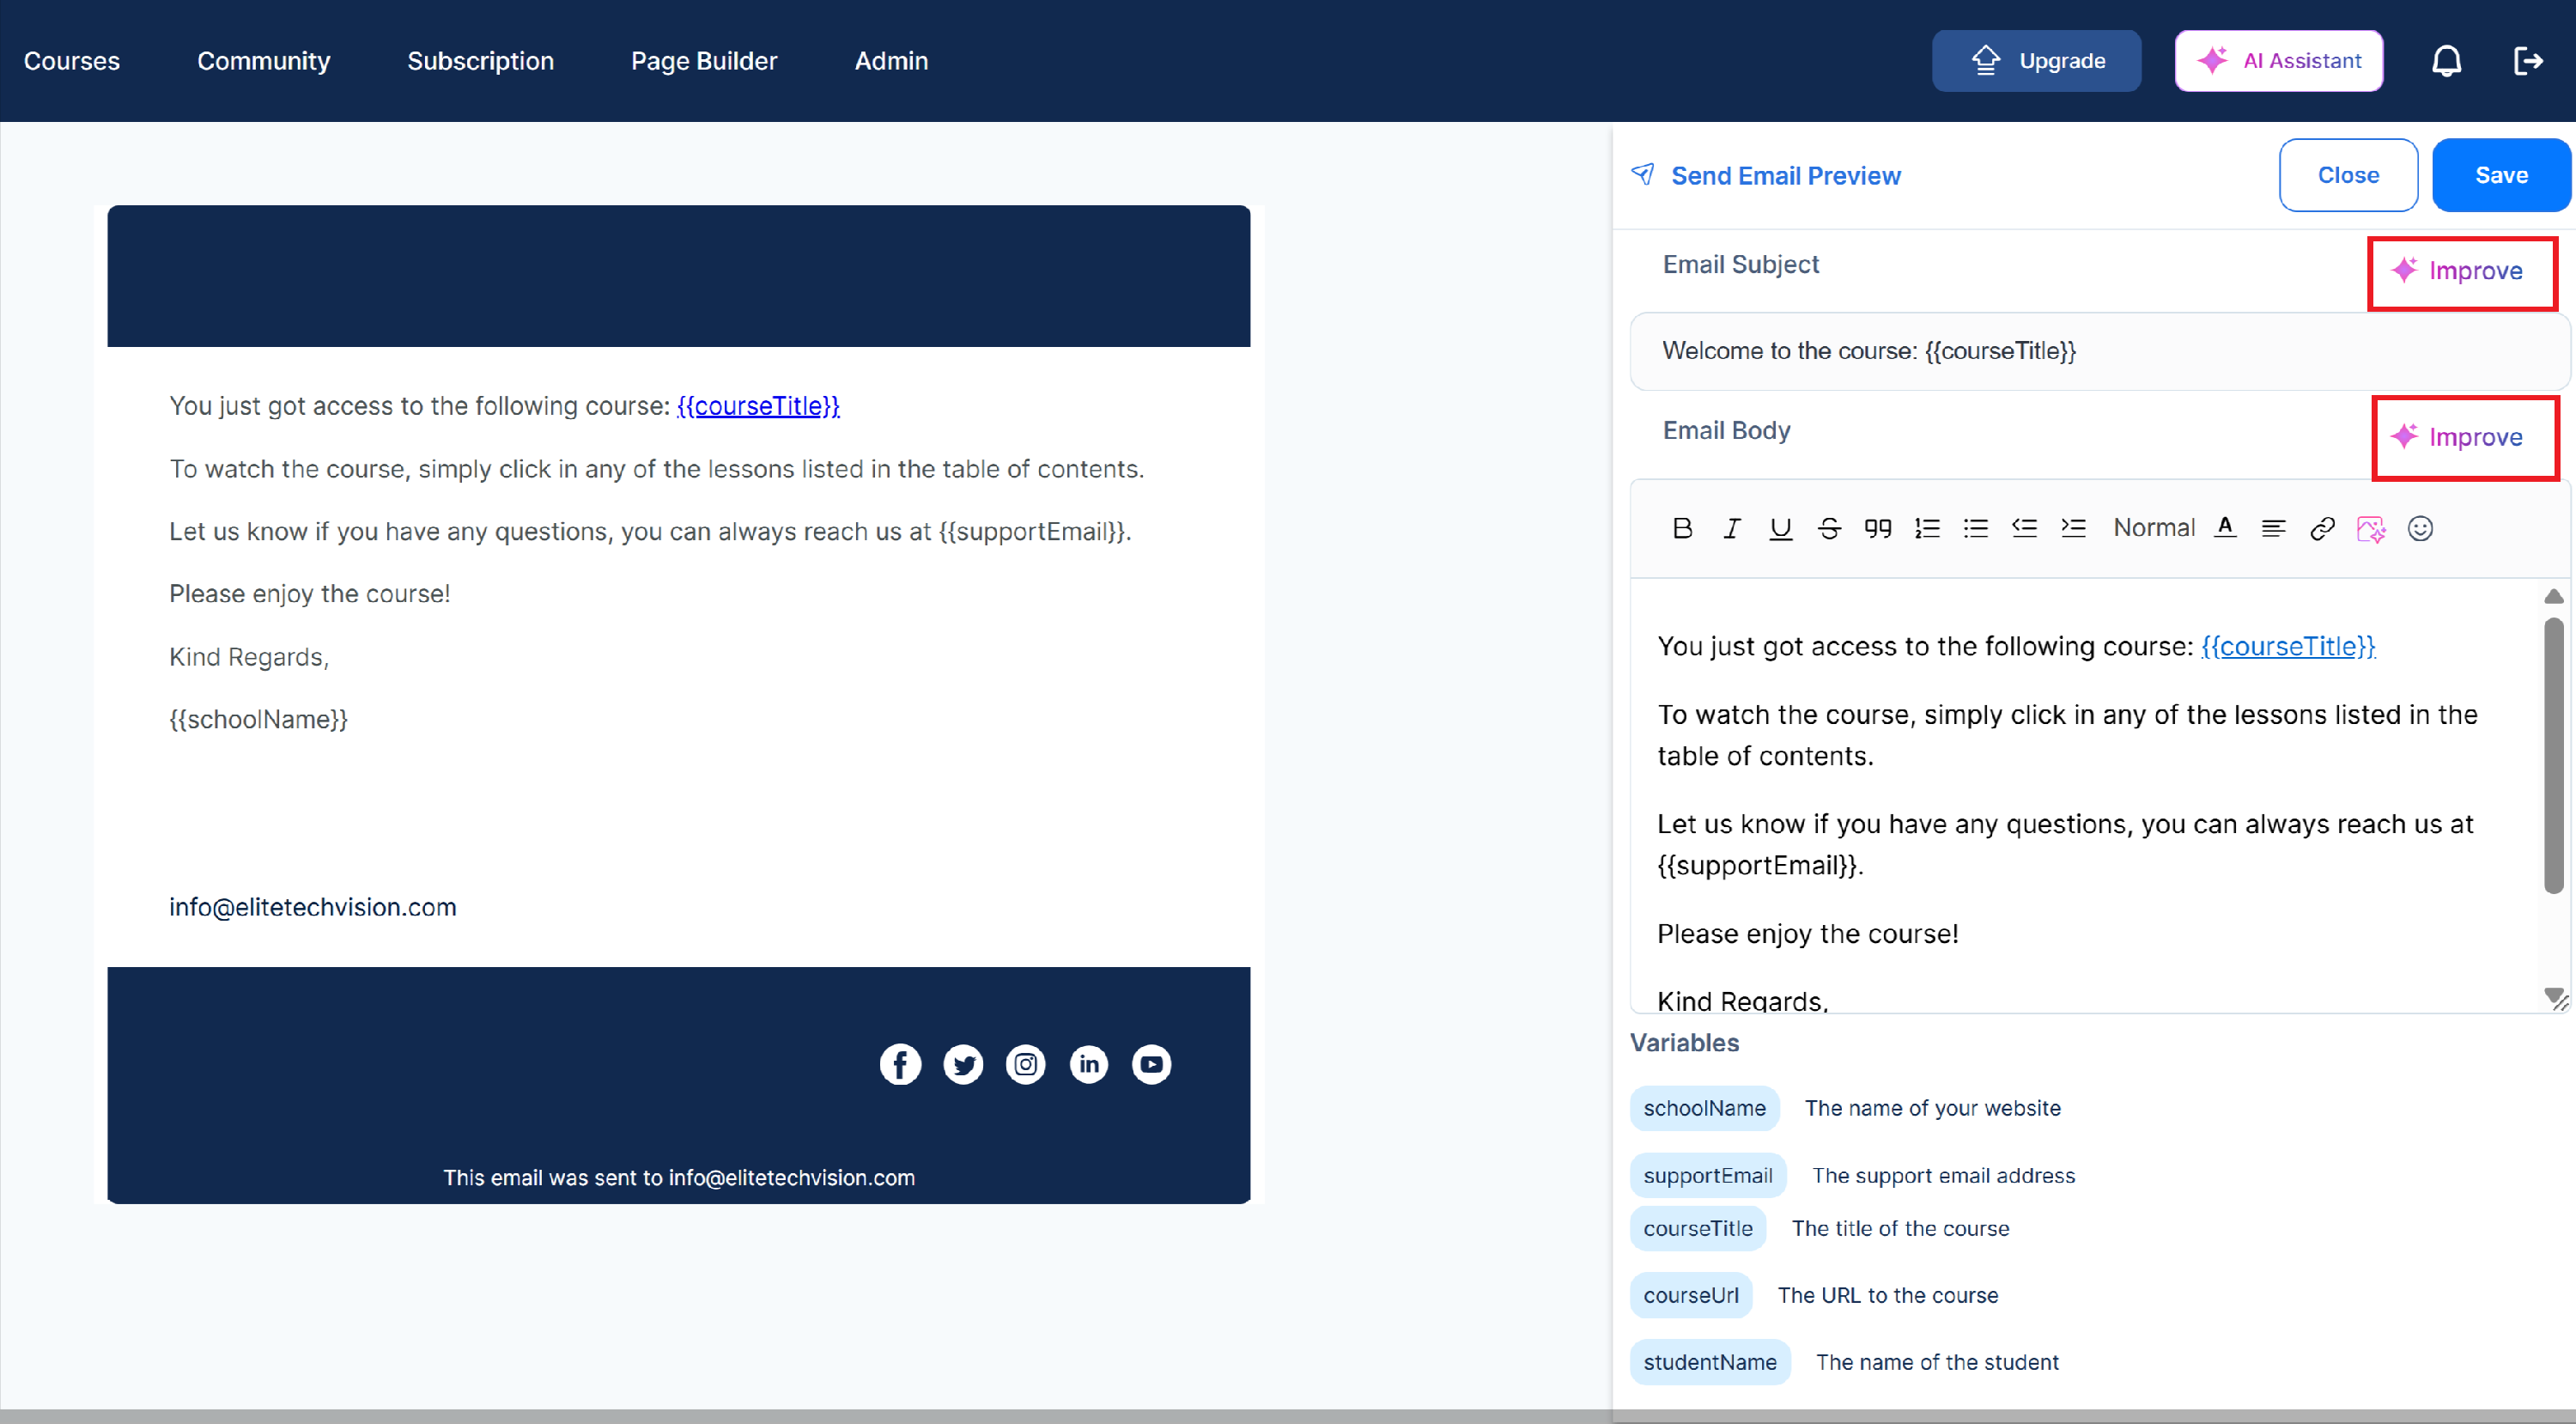
Note: If you'd like the AI to edit or add a new message for your students, simply click the "Improve" button. The AI will automatically refine and enhance the content for both the Email Subject and Description.
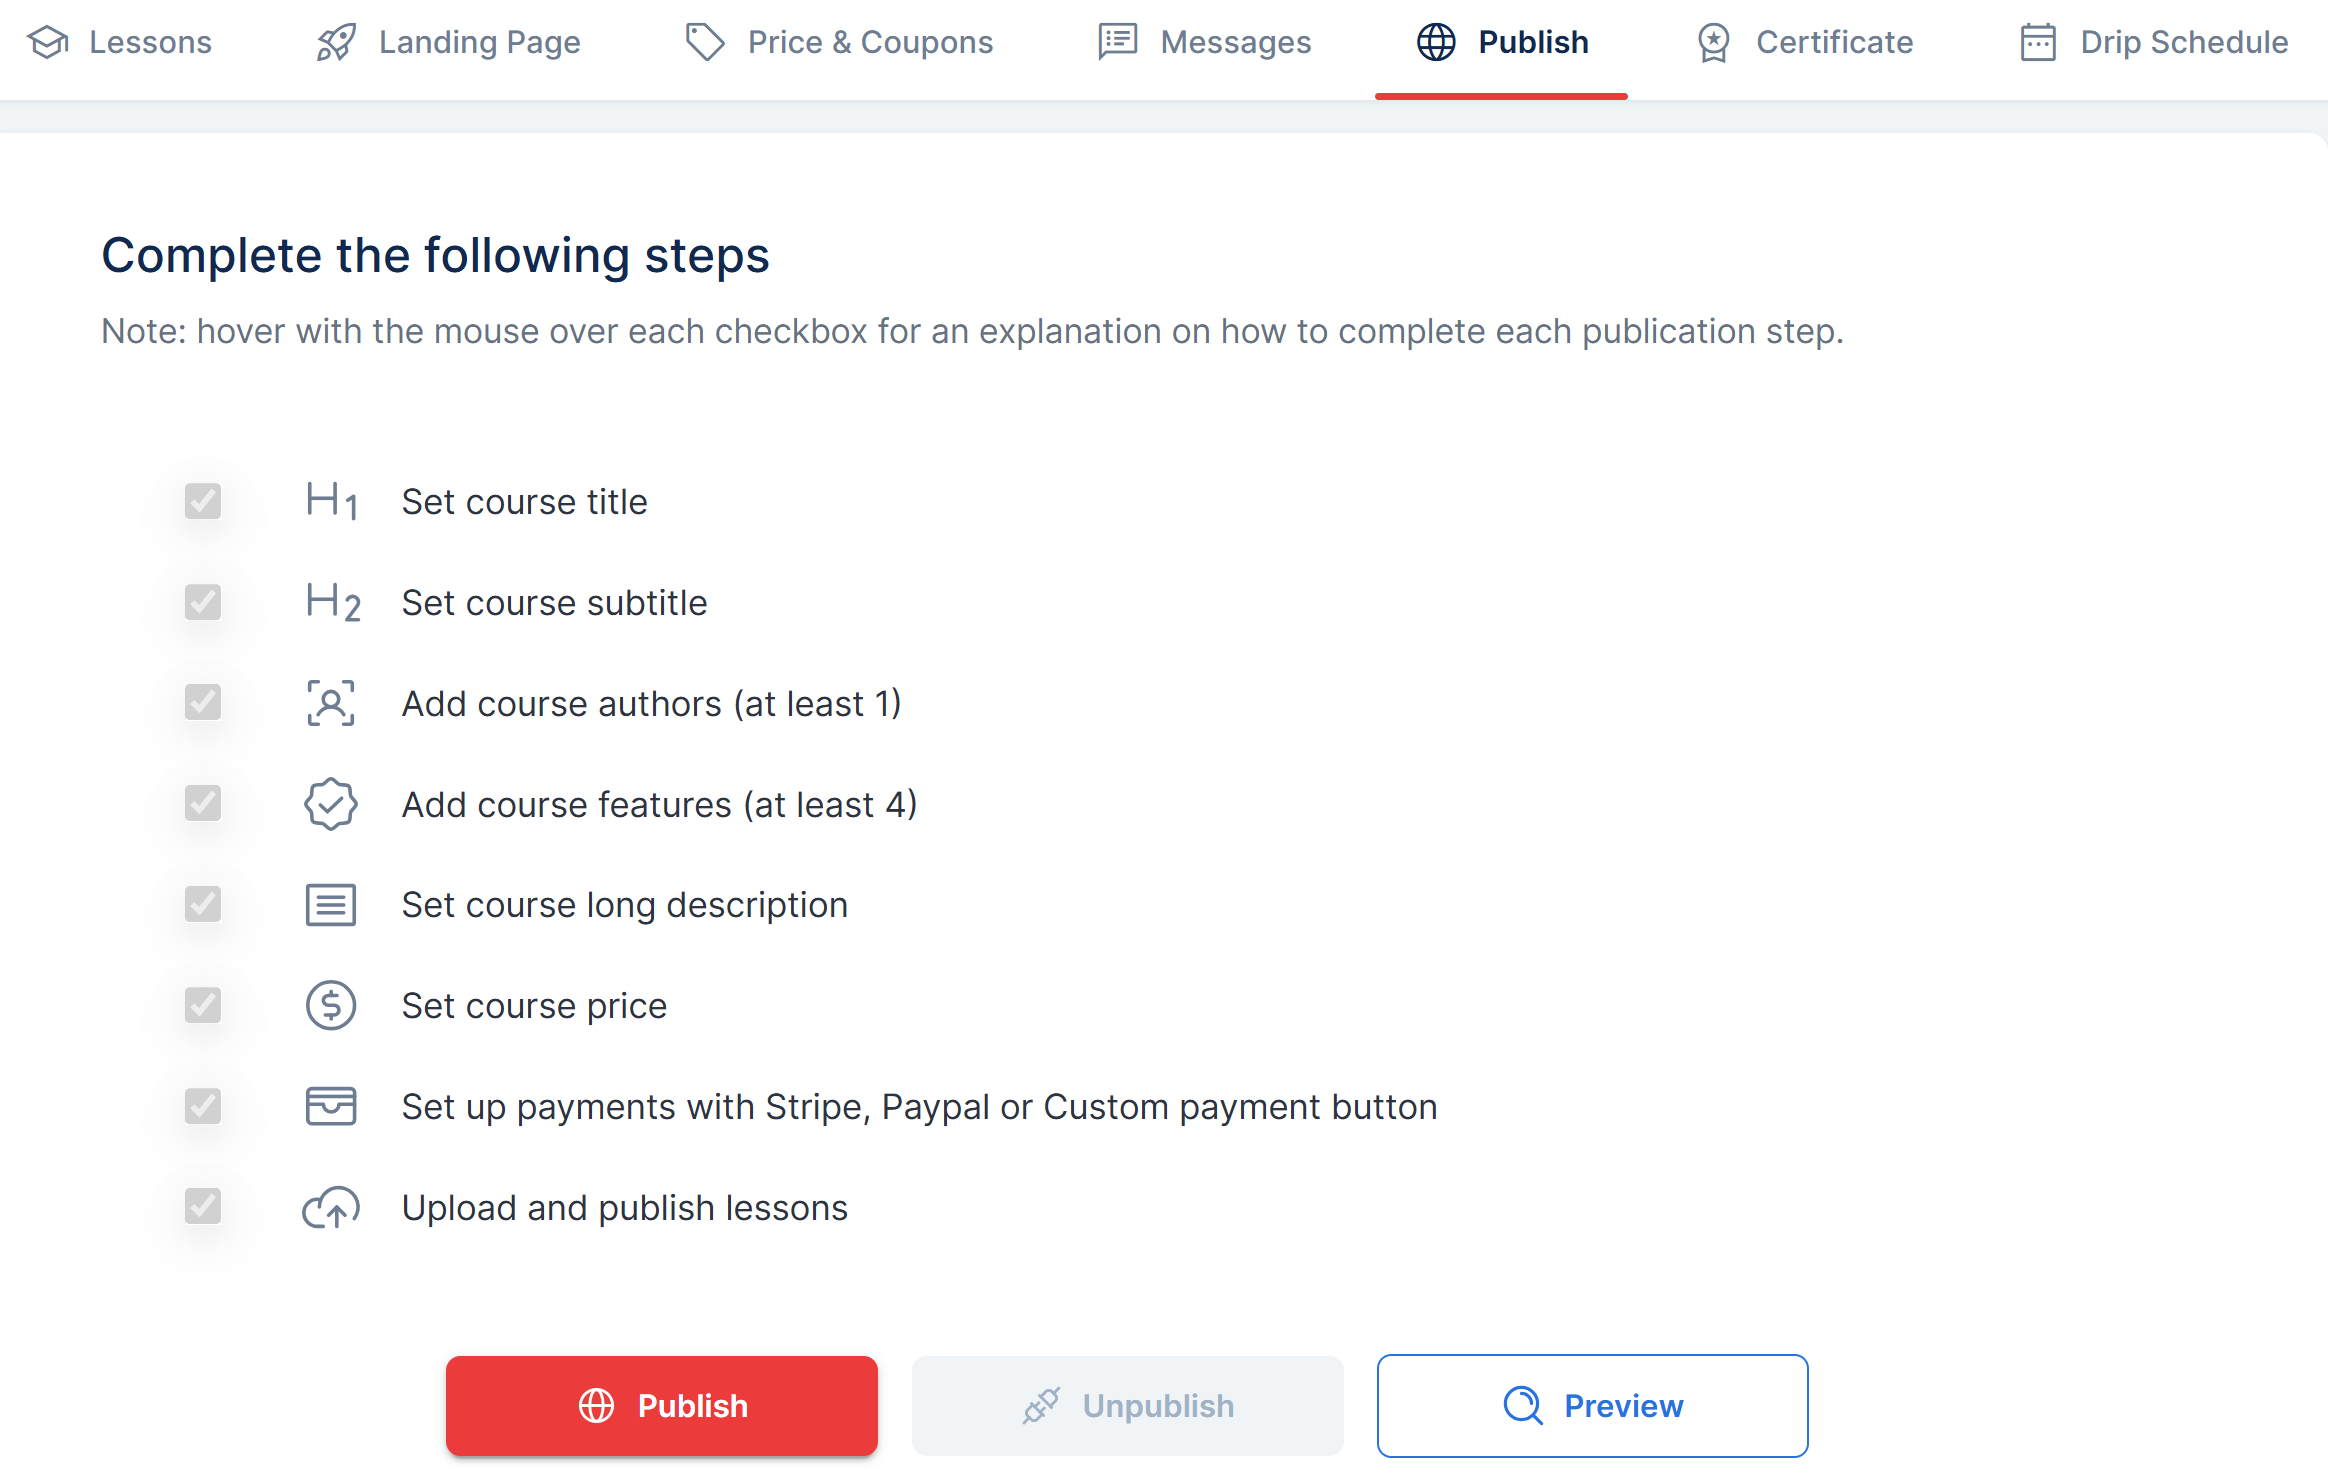
Step 6: Publish your Course
Go back to Step 2 and Step 4, where you created your first lesson, and click Publish to make it live.
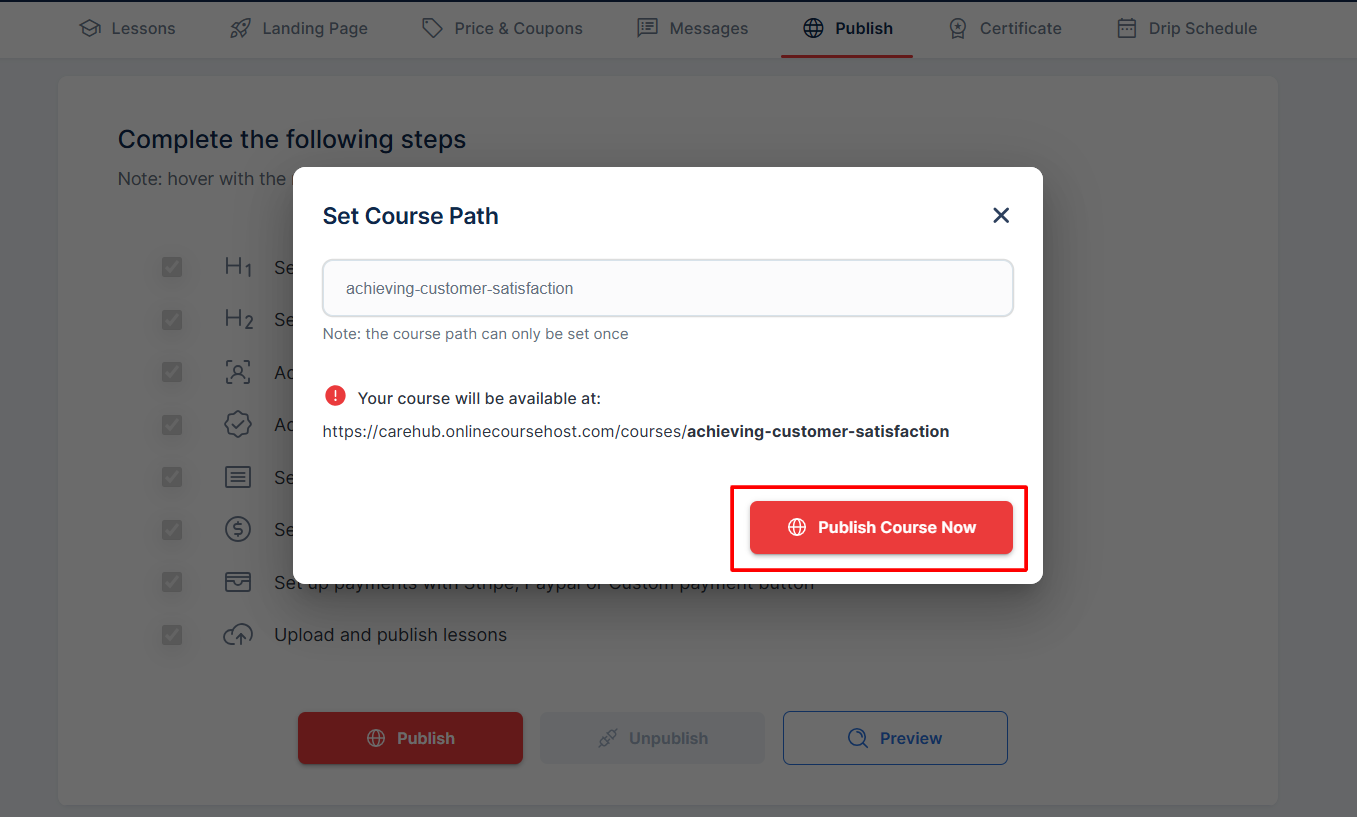
Afterward, move to the Publish menu and ensure that all the requirements have been ticked. You can also preview the course by clicking on the Preview button and then clicking on the Publish button.
After clicking Publish, you will be directed to a new page where you will set your course path. Please note that the course path should follow this format: how-to-make-tote-bags. The AI Assistant would also automatically generate a course path that you can use.
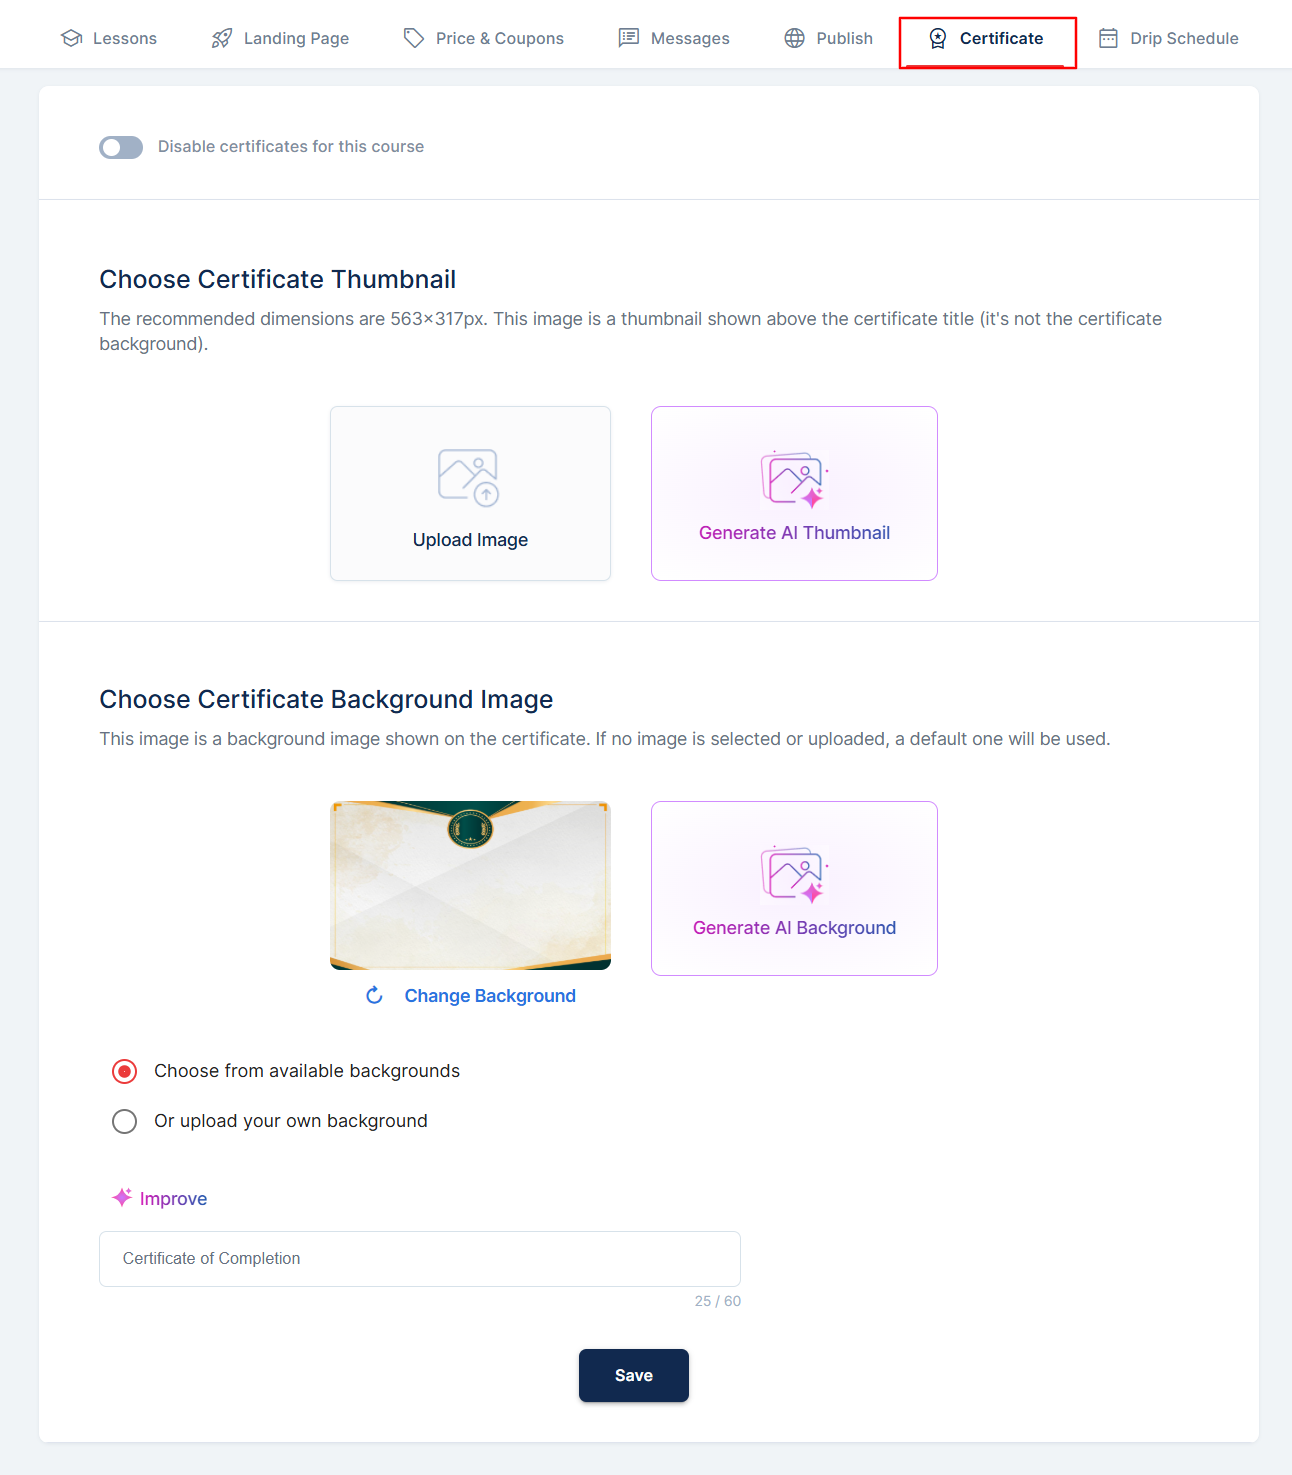
Step 7: Create your Certificate
Navigate to the last option in the menu to set your certificate Thumbnail, Background Image and the Certificate Title. Once you re done with this, click on the Save button.
Note: If you'd like the AI to generate the Thumbnail, Background Image, or Certificate Title for your certificate, simply use the Generate AI option and select the prompt that best suits your certificate.
You can learn more from this article about the customization of certificates: how to customize your certificates.
Congratulations! You have just published your first online course.