How to customize certificates for your course
Rewarding students with certificates upon course completion is a powerful way to recognize their achievements. OnlineCourseHost.com provides customizable certificate options to match your brand and course style.
In this article, we will guide you through the process of customizing certificates for your courses, by following the steps below:
- Upload or generate a certificate thumbnail.
- Choose certificate background image.
- Enter certificate custom title.
- Previewing your certificate.
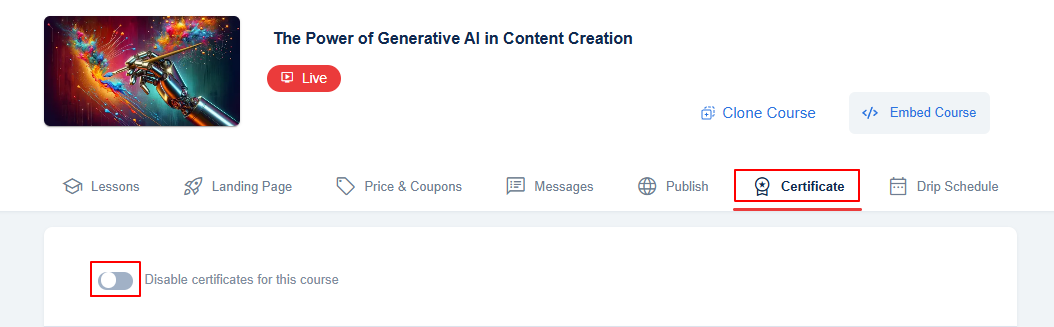
Access the Certificate Editor
Go to your desired course and click on Edit => then select the Certificate tab. You can toggle on and off the Disable certificate for this course button if you would like to offer a certificate for this course or not.
Upload a Custom Thumbnail
- Hover your cursor on the upload image box so the edit button appears.
- Click on the edit button in the empty image box.
- Select an image already saved on your device, and it will be uploaded to the image box as the certificate thumbnail.
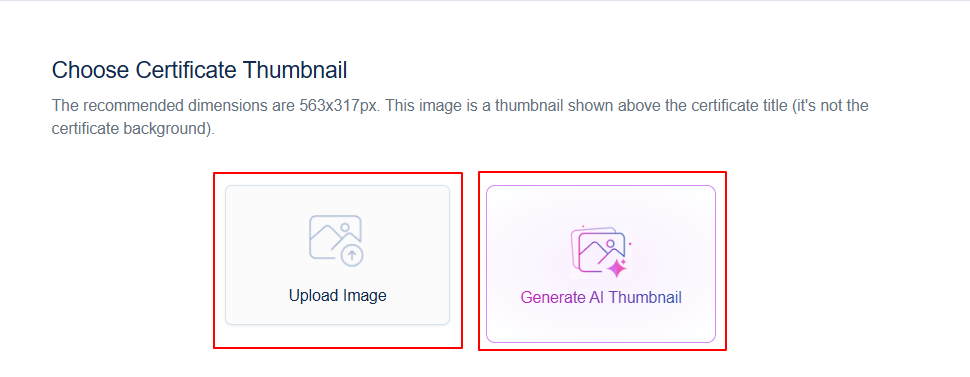
Note that the certificate thumbnail isn't the certificate background; it will only be displayed as a mini image on the top left corner of the certificate.
Also, you can use the delete icon beside the thumbnail to leave this image box blank, and your course image will be displayed as a default thumbnail on your certificate.
Generate AI Thumbnail
To utilize our AI Generation tool to create your certificate thumbnail:
- Click on the "Generate AI Thumbnail" button. A pop-up window will appear.
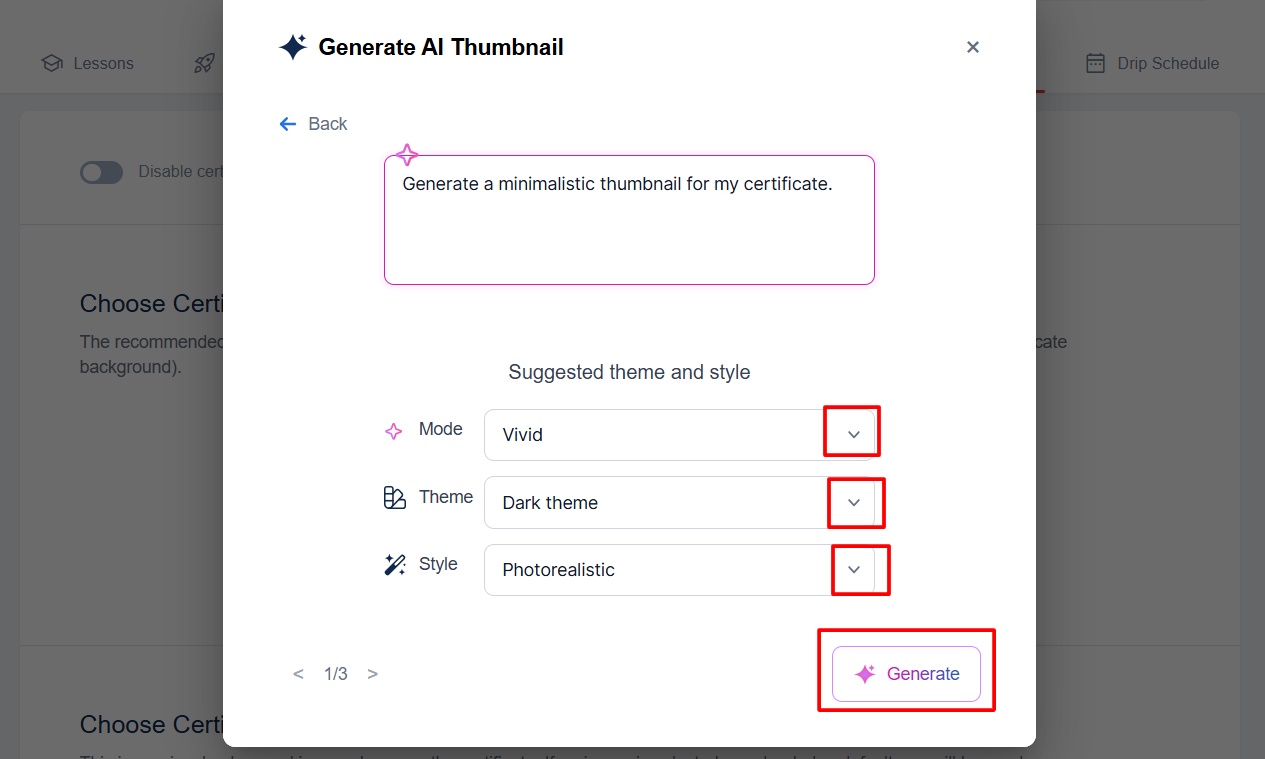
- Either choose from a set of pre-written image ideas or enter your on detailed image idea.

- If you choose to write your own image description, click on the pencil edit icon, and a window will appear.
- Input a detailed prompt describing the image that you have in mind, and the AI will generate it for you. Once you've entered the image description, the Generate button will appear.
- Proceed to select the certificate thumbnail mode, theme, and style from the list of options available.
- Click Generate to create your certificate thumbnail.
You can delete the certificate Thumbnail image by using the bin icon in the image box.
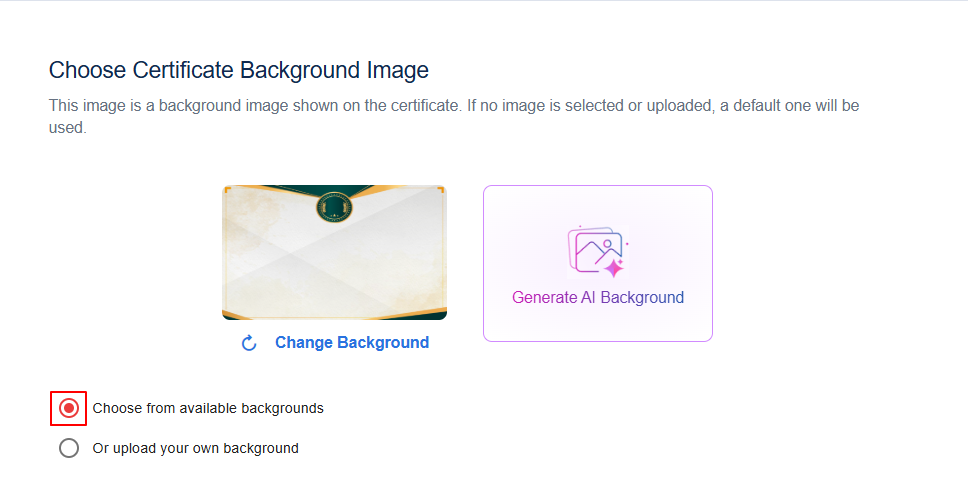
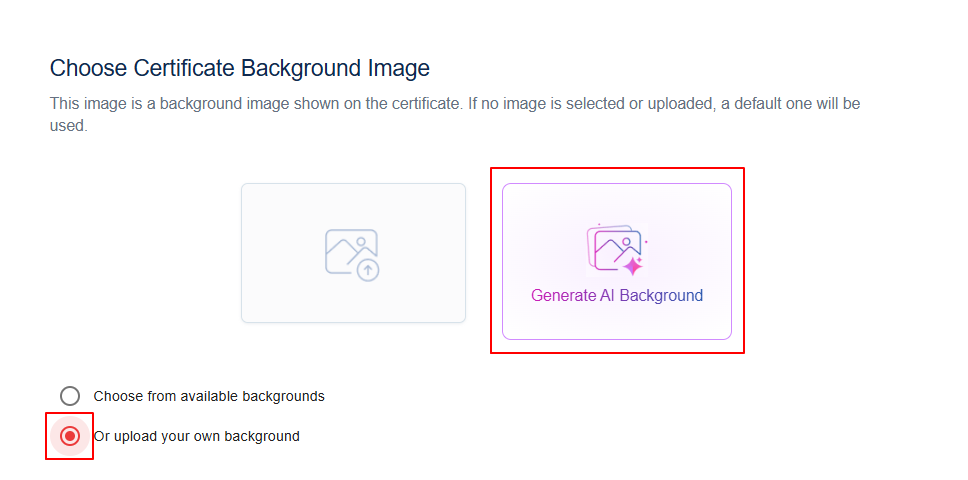
Choose Certificate Background Image
The certificate background image is what the main design of your certificate will look like. If no image is selected or uploaded, a default one will be used.
There are three options you can choose from when selecting a background image for your certificate.
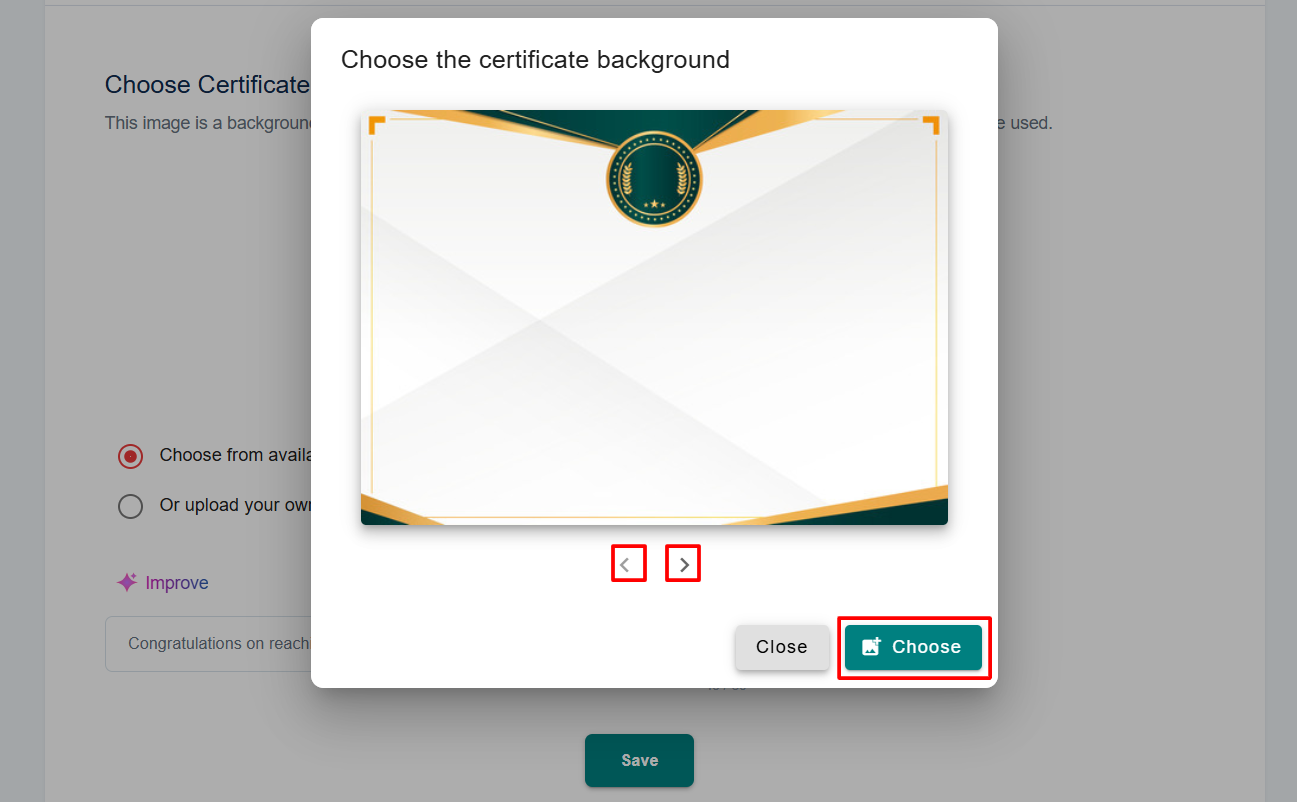
- Choose from pre-designed templates: To do this, click on the circle to highlight this option, then proceed to click on the Change Background button.
Then, scroll through our collection of pre-designed templates, and click Choose to select your preferred background image.
- Upload your own background: To do this, simply click on the option to Upload your own background. Then proceed to click on the image box and select an image already saved on your device, and it will automatically upload to the image box.
- Generate AI Certificate background: To do this click on Generate AI Background and follow the same steps as earlier mentioned on how to generate AI thumbnail.
You can delete the certificate background image by using the bin icon in the image box.
If you haven't selected any background image, a default background image from our collection of background images will be used for you.
Enter certificate custom title
It is recommended to provide a custom certificate title for your students, as a way to acknowledge their successful completion of your course. To do so, simply click on the custom title field and enter your preferred wording. You can Utilize our AI improve button to enhance your custom title.
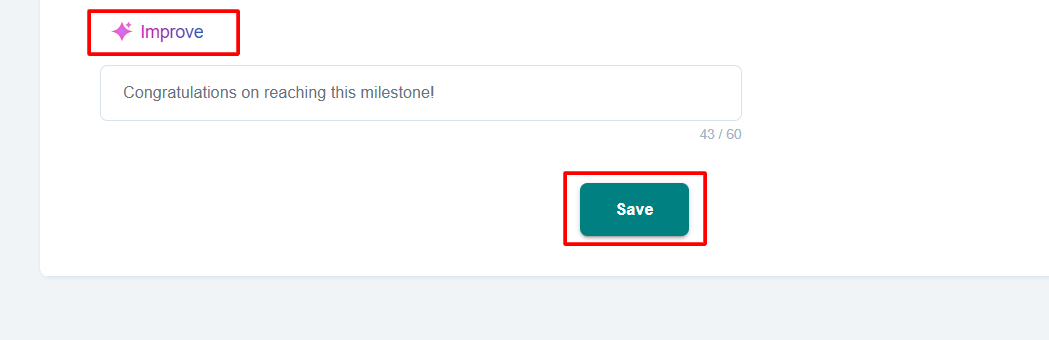
After following these simple steps, click the Save button and your certificate will be ready to be downloaded by your students upon completing your course.
NOTE: Quizzes and assignments cannot be completed via checkboxes by the students.
The quiz must be answered correctly and can be reset and retaken by the student if necessary, but it cannot simply be marked as completed. Please see our helpful guide on how to Create Quiz Lessons.
This also signifies that the submission of an assignment by students requires your approval, after which the lesson is automatically marked as completed. Check out our helpful guide on How to Create Assignments.
We strongly advise you to include assignments and quizzes in your course, as this not only adds more relevance and significance to your course, but also guarantees that students have genuinely earned the certificate.
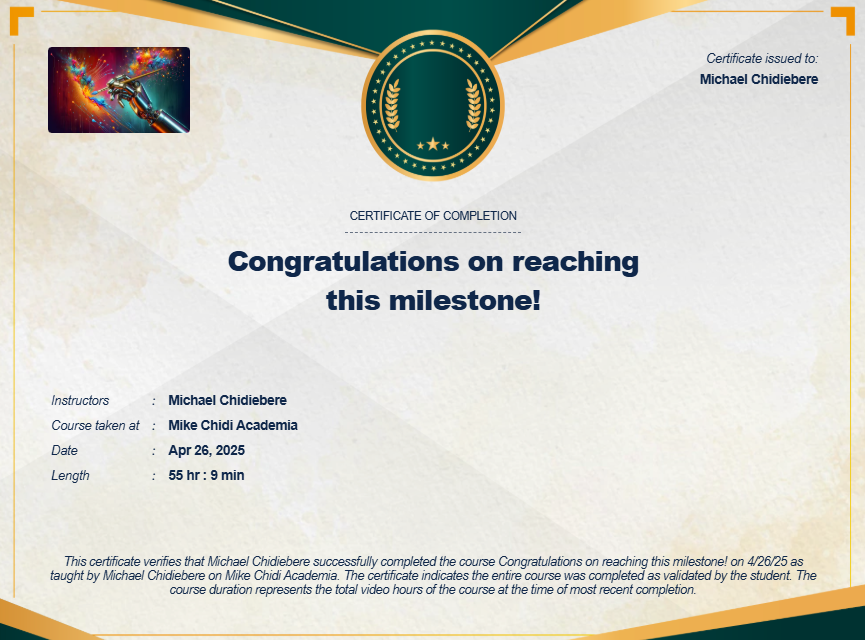
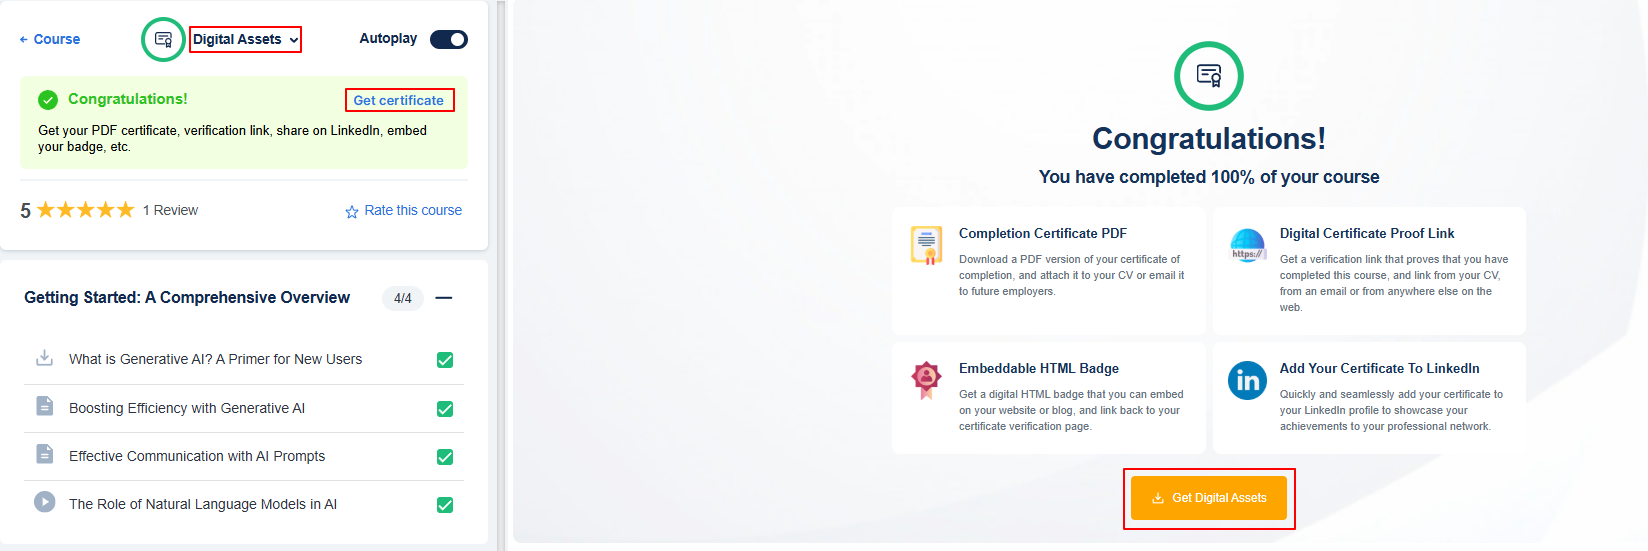
Previewing Your Certificate
In order to preview your certificate as a student would, please log in to your account, click on Courses, then select View Course, and proceed to complete all your lessons, including the quizzes/assignments. Finally, click on Digital Assets, Get Certificate, or Get Digital Assets on the course completion screen to access the various options for downloading or showcasing your certificate.
Kindly refer to this link for more information about the certificate badges you can get on onlinecoursehost.com.
Professional certificates boost credibility, motivate students with recognition, and maintain brand consistency, customize yours today to reward achievement!