
How to manage your students
Manage students in Students > Manage Students in the admin menu. Search students... finds a student by name or email.
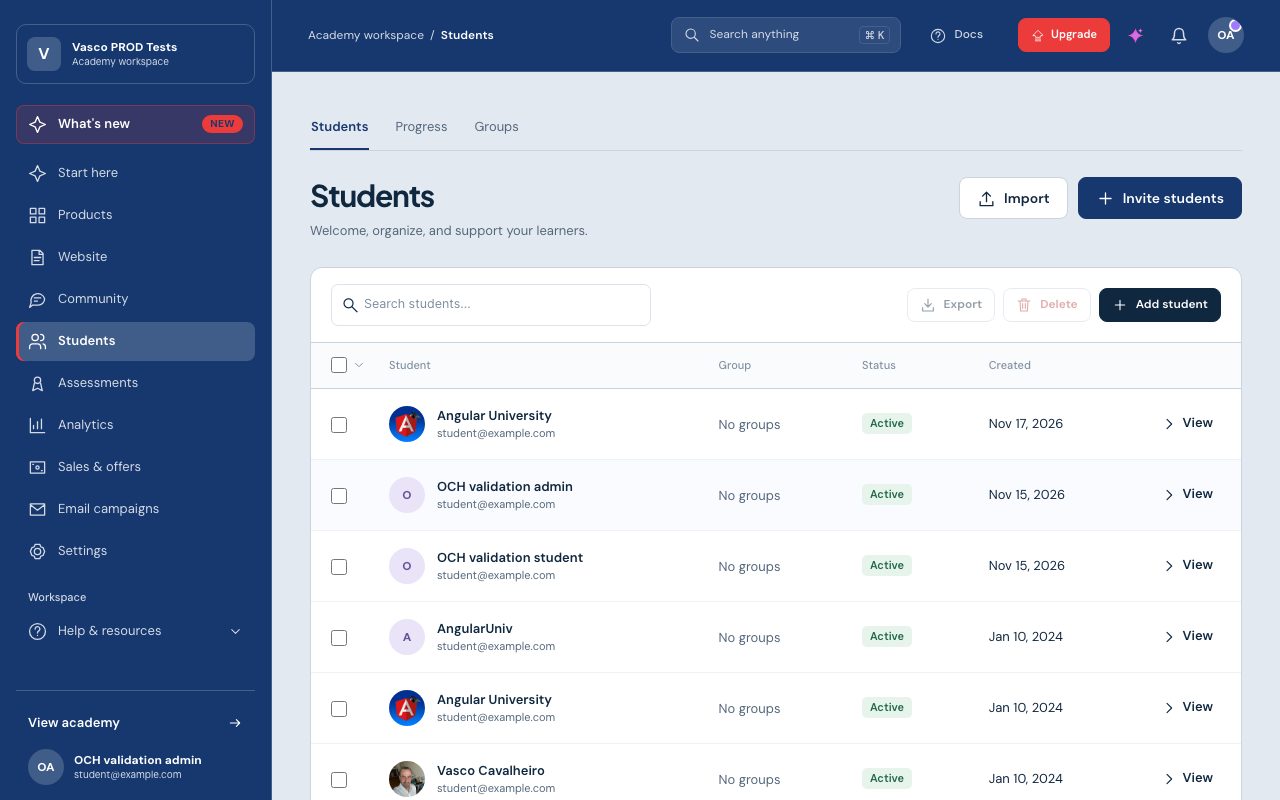
Add students
- Add student: enter a Full Name and Email, optionally choose groups, and click Create Student. The student gets an email to set a password. Use this for people who paid outside the platform (How to manually register students).
- Import: add many students from a file with Bulk Import.
- Invite students: choose the groups students join, how many people can use the link and an optional expiration date, click Create Link, then Copy Link. Delete Link stops it working.
Groups
Manage Groups creates groups, for example a class or a company team. Add students to a group and give the group access to products: anyone who joins the group is enrolled automatically.
Work with the list
Select students in the table, then click Export (CSV file), Delete or Add students to group.
Open a student
Click View on a row to open the student profile, where you can:
- Change the name and click Save.
- Click Reset Password.
- Click View as student for a read-only view of their products, progress and certificates (30 minutes).
- See their groups and click + Add Student To Group.
- Click Add Life Time Access, Reset Enrollment or Activate Enrollment.
- Click View Purchases or Delete Student.
Groups can also end course access on a date, and a product can add its students to a group automatically.