How to create and issue certificates to your students
Certificates are a great way to recognize your students’ achievements and add value to your courses.
This help document explains how certificates work on the platform; how they are created, customized, and automatically issued to students once they complete their courses.
To get started, log in to your website => click Products => Edit any product of choice => click Certificate, and choose an option; either you create a new certificate for yourself or choose one of our templates.
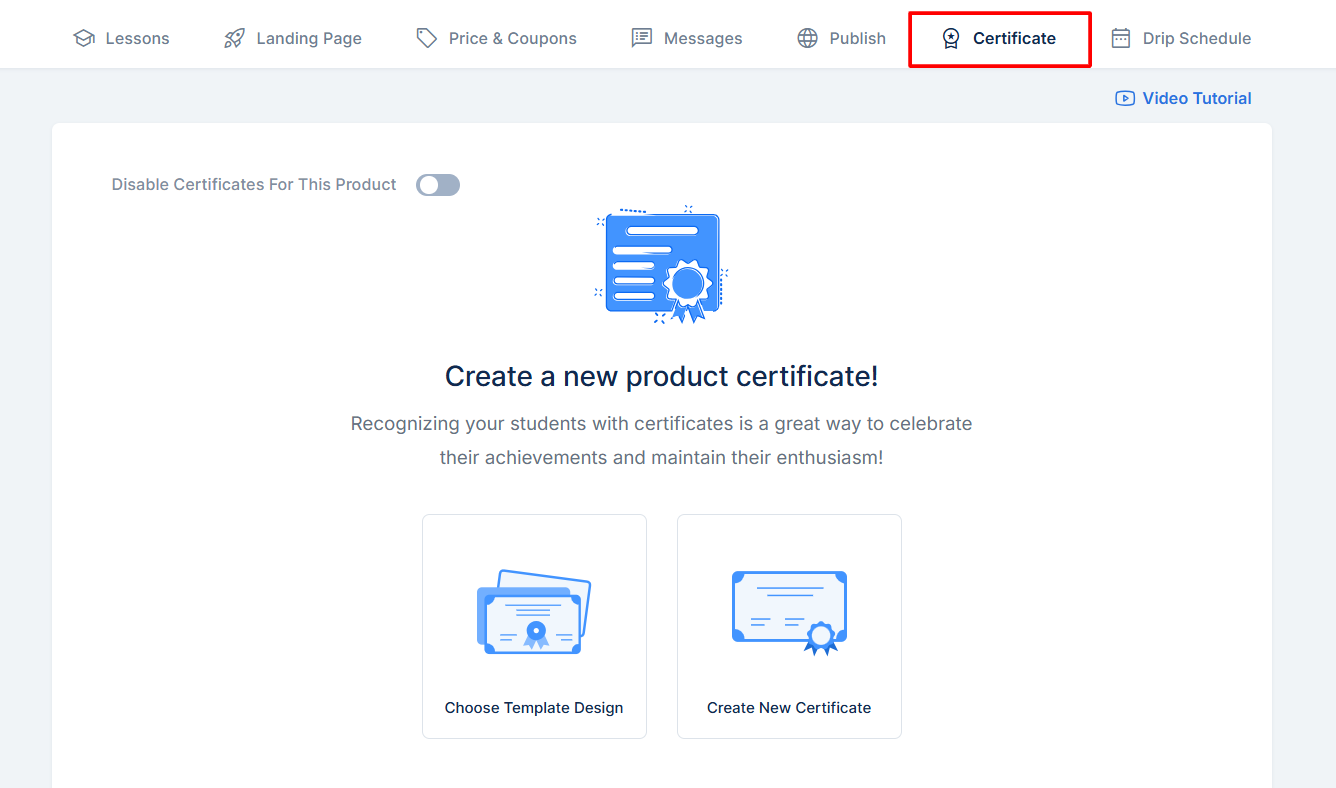
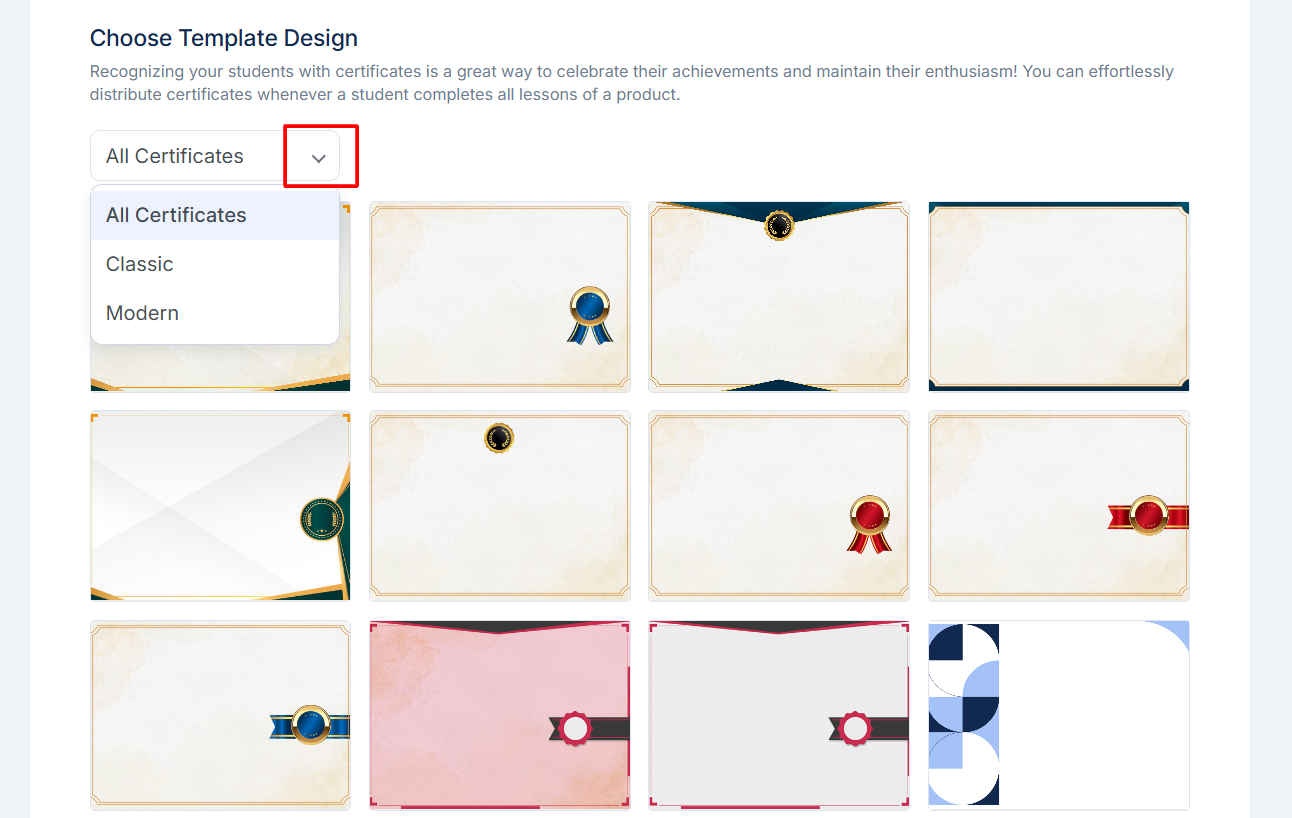
Choose Template Design
Our gallery comes with 15 certificate templates, which are divided into Classic and Modern types. 11 of the certificate templates fall under the Classic category, and they use the same design template, while the remaining 4 under the Modern category use a different design template.
Create New Certificate
When you choose to create a new certificate, you will be automatically presented with one of the classic templates, so you can see the design of your certificate.
Design your Certificate
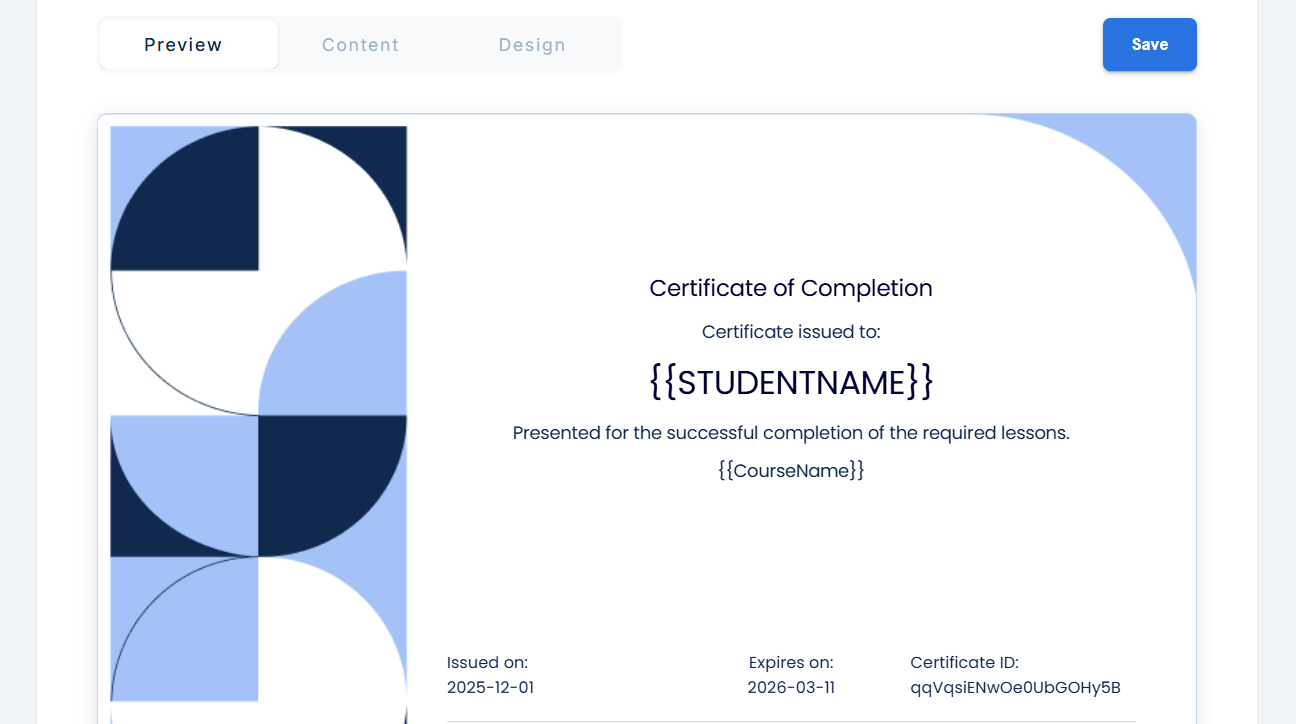
After making a selection, you will be presented with three screens: Preview, Content, and Design.
The Preview Screen
The Preview screen is where you will see the changes you have made to your certificate before you save them. Whatever you see here is what your students will also see when they download their certificates.
Note that you can edit the sections on this page as well.
The Content Screen
The Content Screen is where you edit the predefined fields that come with the certificate and add your own custom fields. The predefined fields are:
- Title: This is the certificate title. Something like "Certificate of Completion".
- Certificate Issued to: This comes above the student's name.
- Student Name: This is automatically filled in.
- Text above the course title
- Course Title: This is automatically filled in.
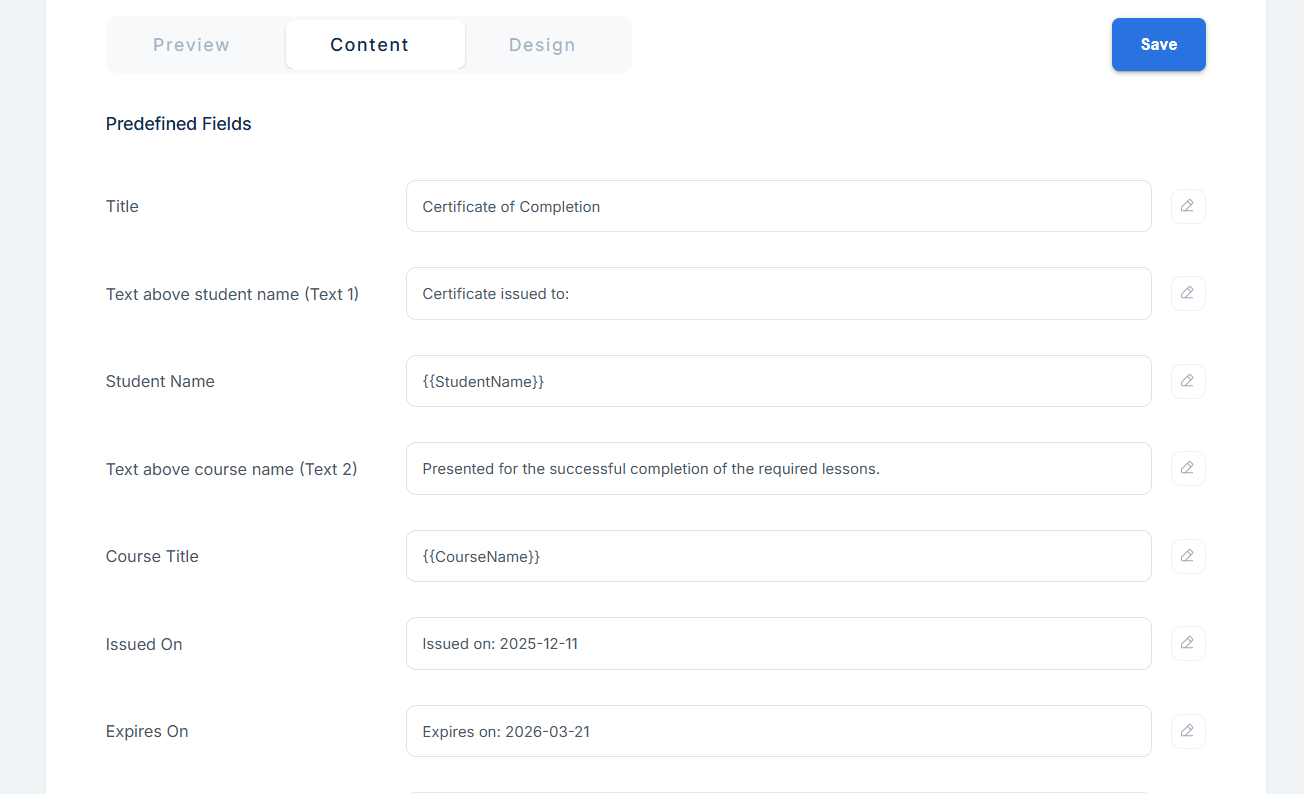
- Issued On: This automatically comes in the date you are currently designing your certificate, but when you use a placeholder like {{IssuedOn}}, it is automatically replaced with the date your student completes their course for the first time/generates their certificate for the first time.
Note: Regardless of the number of times the certificate is generated, this date will not change.
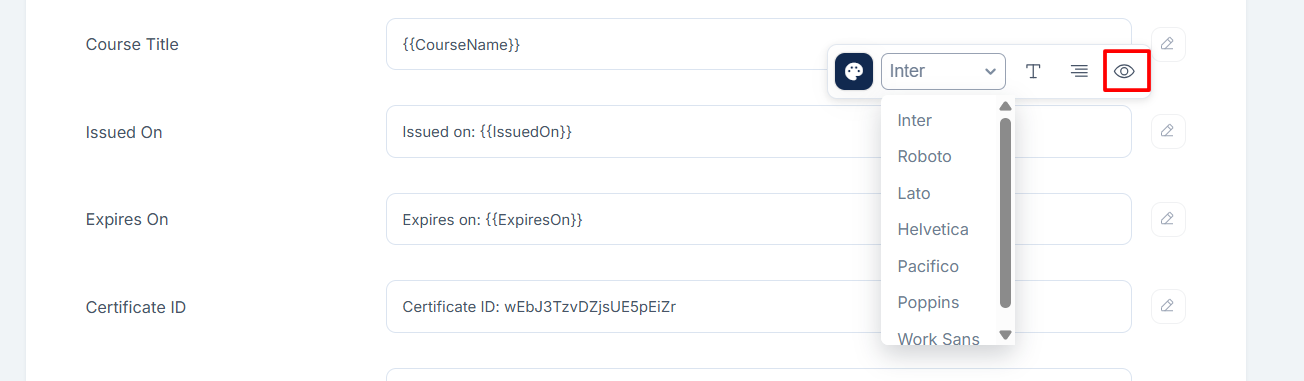
- Expires On: When you use a placeholder like {{ExpiresOn}}, the date is automatically calculated as 100 days after the certificate is issued for the first time, but you can delete the placeholder/date and put your own date there.
- Certificate ID: This can be updated by you anytime.

- Note: This is the note that shows beneath the certificate information.
- Custom Fields: Here, you can add up to three custom fields, and it depends on what you want to add to your certificate. Depending on the design template you choose, custom fields will either be displayed beneath the course title or certificate ID.
When you are done updating this screen, you can scroll up and click Save.
Features of the Content Screen
For each field under the content screen, you can change the color, font, text formatting, justification, and hide it from the certificate.
The Design Screen
Under the Design screen, you can replace the background of your certificate by choosing from the default gallery or uploading your own background. The design will adjust according to whatever background template you were using before.
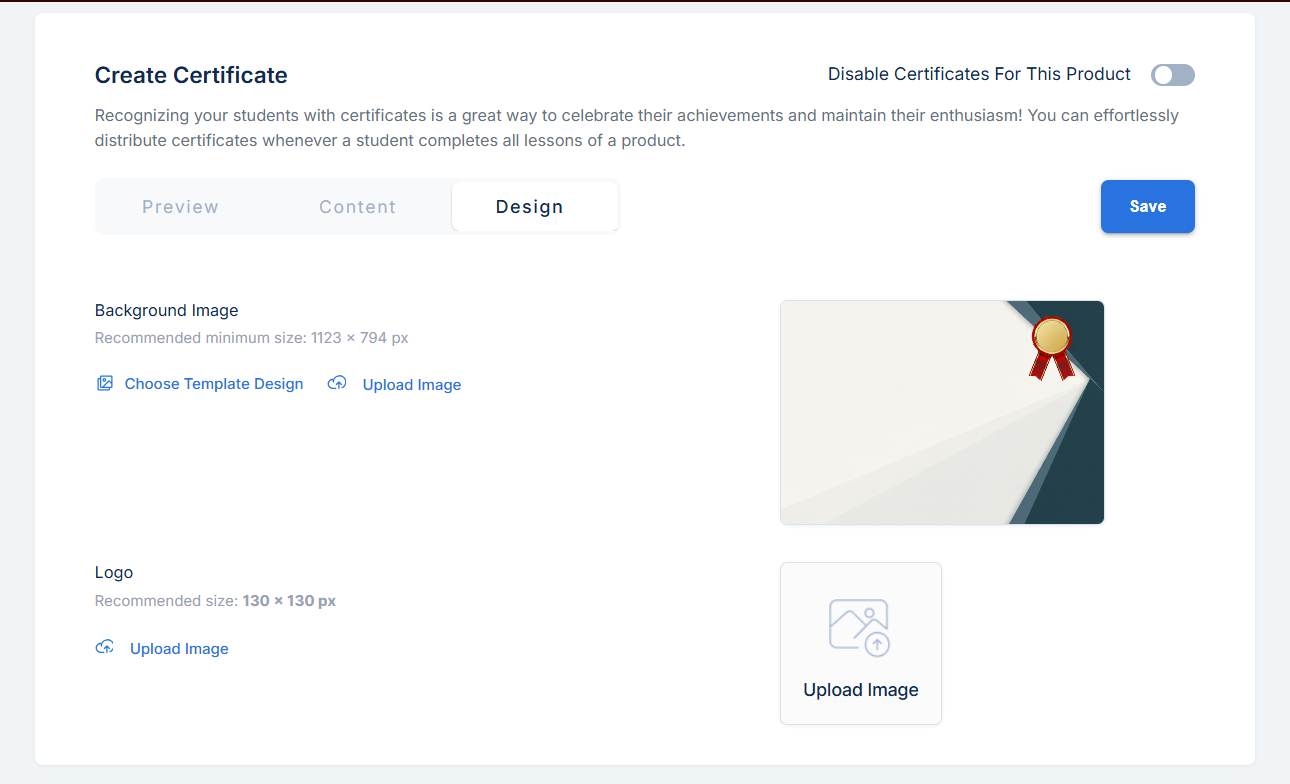
Then, you can upload a logo that will appear on your certificate. Without a logo, your course image will be used instead. The recommended dimension for the logo is 130 × 130 px, while the one for the background image is 1123 × 794 px.
Afterward, click Save.
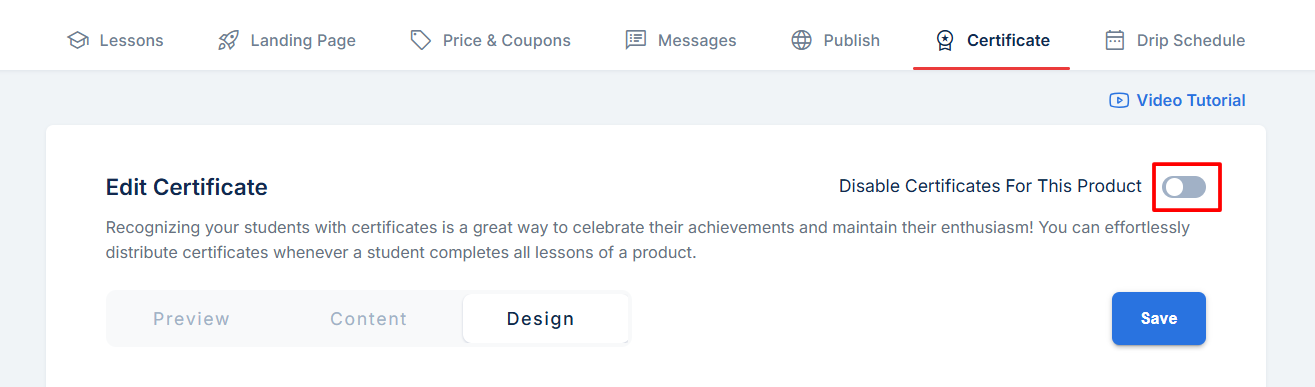
Disable Certificates
If you do not want to offer certificates for your course, you can always click the button to disable certificates.