How to Create a True/False Assessment
The True/False Assessment is one of the simplest and most effective ways to test learner knowledge. With just two possible answers, it allows course creators to quickly evaluate understanding while keeping the learner experience straightforward.
This assessment type is automatically graded, meaning the system instantly checks whether the learner’s response is correct or incorrect. It is particularly useful for reinforcing factual knowledge, clarifying misconceptions, and running quick knowledge checks throughout your course.
By using True/False assessments strategically, you can encourage learners to pay closer attention to course material while keeping assessments easy to complete.
How to Create a True/False Assessment
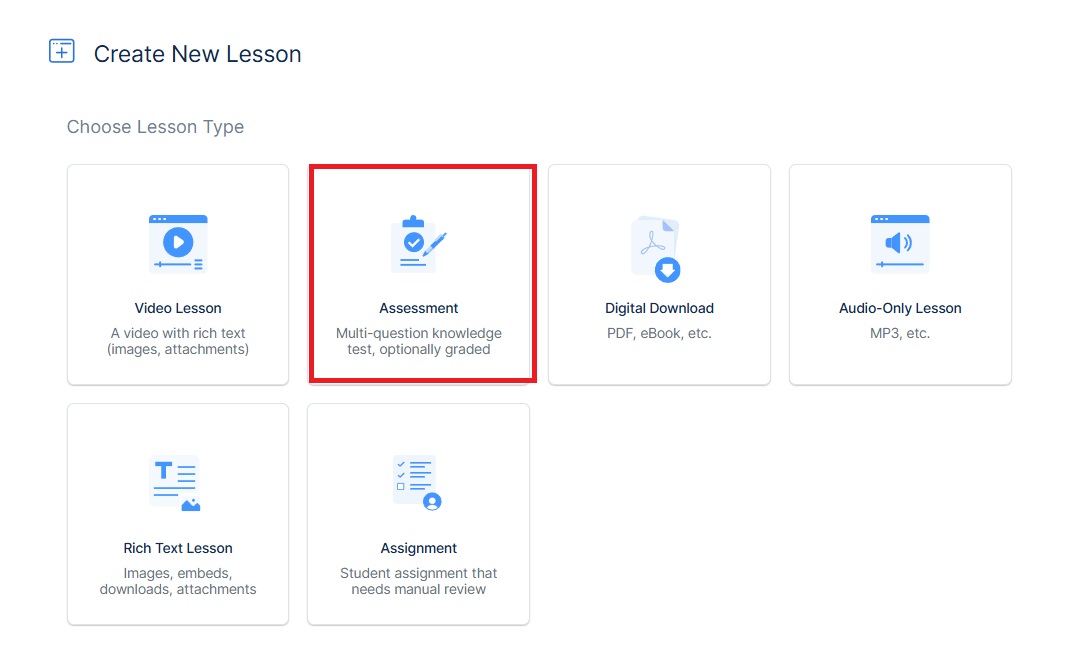
- To create a True/False assessment, log in to your website, go to Products, select Edit, click Add Lesson, and choose Assessment.
- Here, enter a title and description for your lesson, then click Edit Questions to continue.
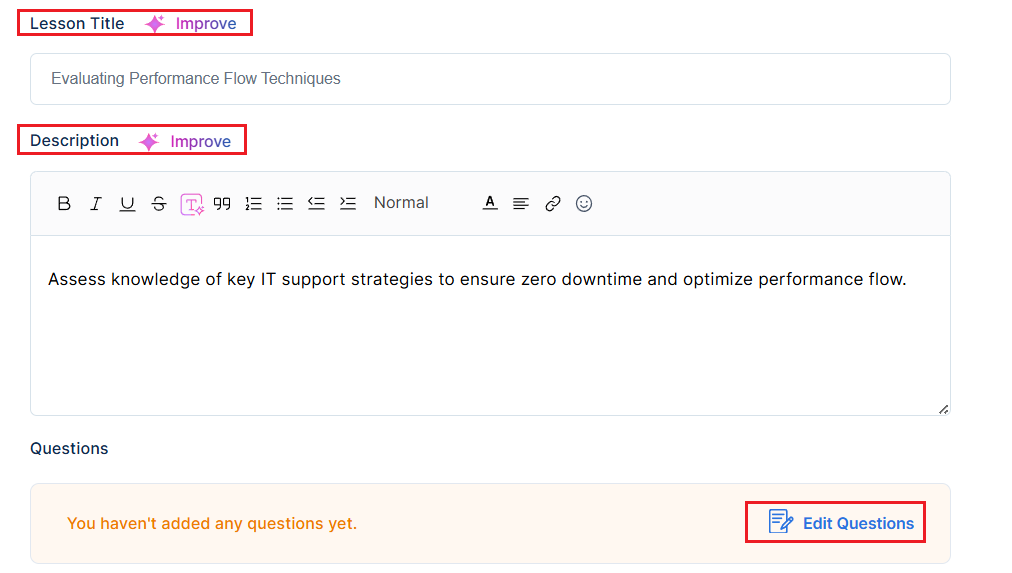
Note: You can either create the assessment title and description by yourself using the Create Manually button, or use the Generate with AI button to generate the title and description for you.
- If you already have True/False questions saved in your Question Bank, select Add from Question Bank to add them to your lesson.

- To create new questions, click Add New Question and select True/False from the list of options.

In the new question screen, add the question and other necessary details as explained below:
- Enter your question in the Question field.
- Select the correct answer under Answers by choosing either True or False.
- Add Tags, include a Hint for learners, and click Preview to see how the question will appear.
- Click Save Question to finalize and add it to your lesson.
Important Tip: Use the AI Feature to generate the questions for your assessment lesson.

Assessment Settings
Assessment Settings let you control how students interact with the assessment, including retries, question attempts, skipping, reviewing answers, and when results are shown.
You can also set a minimum passing grade, mark the lesson as free, or make it a prerequisite for future lessons.
- Allow assessment retries: Enables students to retake the entire assessment if they don’t pass on the first attempt.
- Maximum number of retries: Sets how many times a student can retake the full assessment.
- Allow question retries: Allows students to retry individual questions instead of the whole assessment.
- Number of attempts per question: Defines how many times a student can attempt each question.
- Allow skipping questions: Students can skip questions, but skipped ones are marked incorrect.

- Allow review of previous answers: Let students revisit earlier questions to review their responses.
Note that they can only go back to check the answer if this is turned on; they will not be able to change it. To enable them to change their answer, the allow question retries button must be enabled.
- Show results after each answer: Displays immediate feedback after each response, showing if it was correct or not. Works only with auto-graded questions.
- Submit assessment for manual review: When this is enabled, the assessment will not be automatically graded. Instead, you will have to do it yourself, under the Review Assessment screen in your Admin dashboard.
- Minimum passing grade (%): Defines the minimum percentage required to pass the assessment.
After completing the Assessment Settings, scroll down and click save to apply your settings, then publish the lesson to make it live for learners.